
Picture Frames Galore, Take 2
Back in September 2020, I set out to make almost a dozen picture frames for as many cross stitch projects Lisa had finished. One wasn’t turning out quite as expected, so it was completely abandoned and will be started from scratch at a later time with a totally new design.
There were five made with floating tenons, and all of those came out great. There were a couple of hiccups with them, but nothing that would be seen or detract from the finished product.
Then, there were the five mitered frames I had planned.
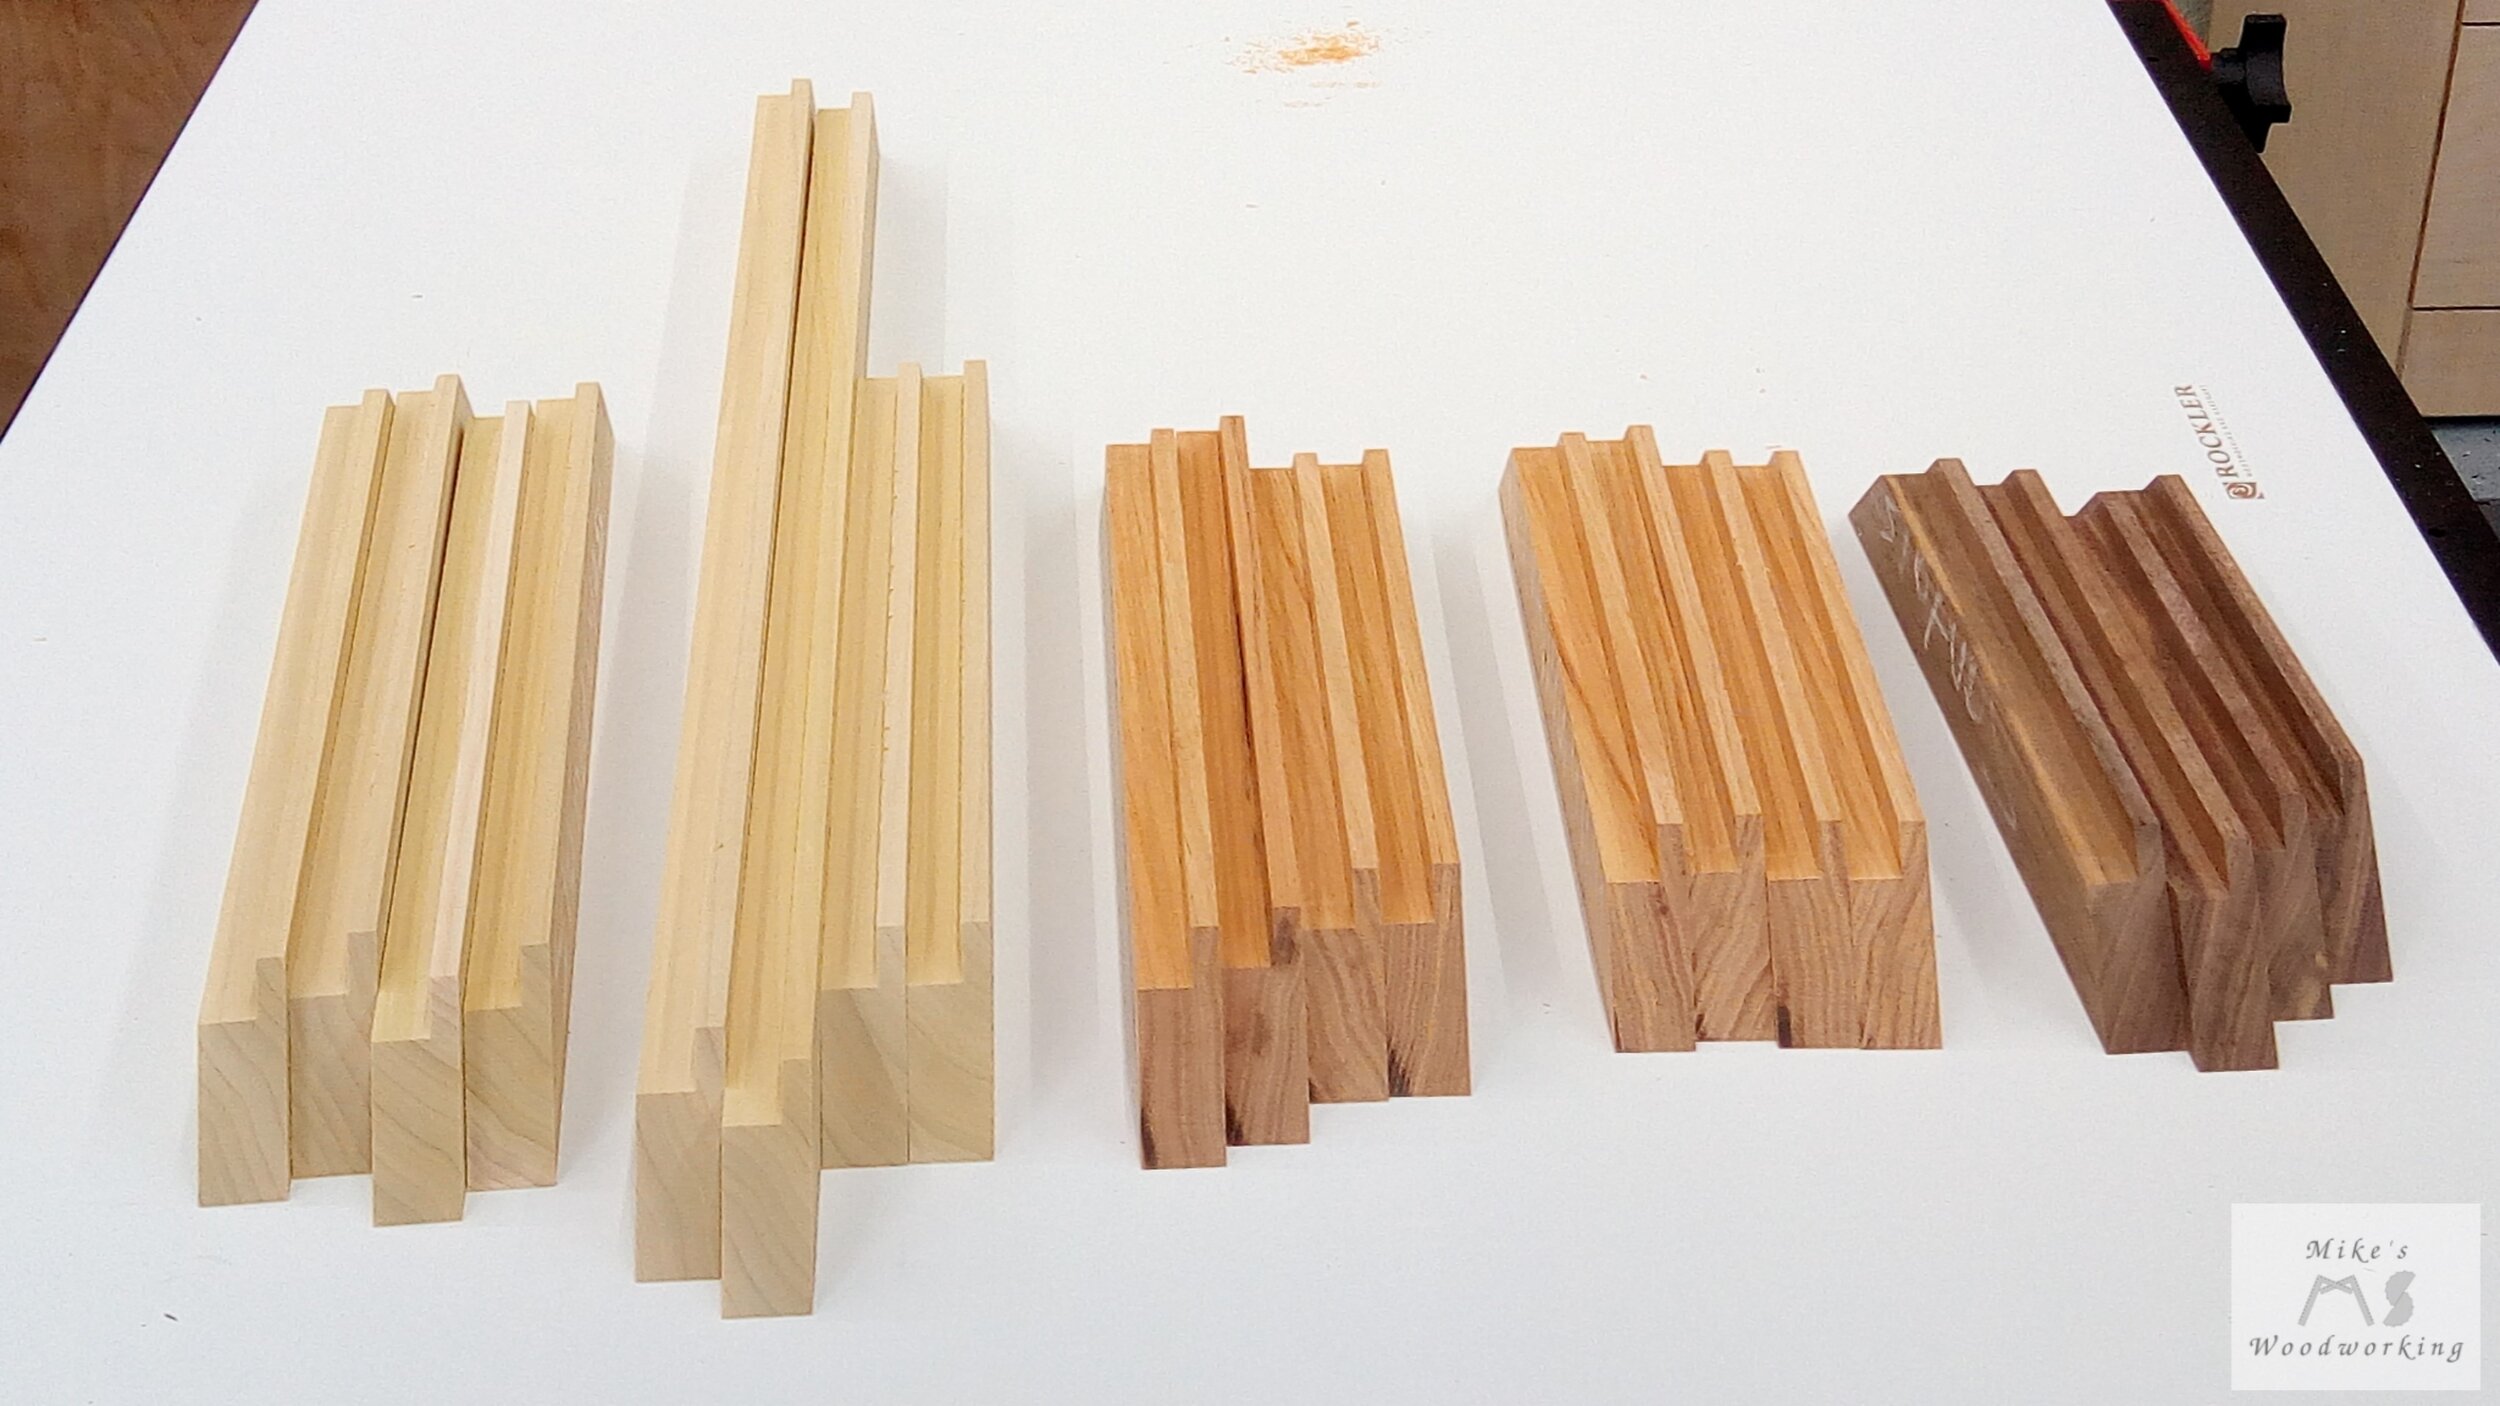
The walnut one was glued up, but it was quickly noted that NONE of the corners came together properly. In retrospect, I should have checked the joints before gluing them together, which was stupid on my part. I checked the other four and they were in the same boat. I still don’t know how this occurred as I was using a higher-end Incra miter sled and I checked all of my angles before making any cuts. Whatever the cause, I wound up scrapping the walnut frame and just set the other four aside to work on in the future, once I built a proper sled that was meant for these type of frames.


In the above pictures you can see the gaps in the corners. It’s much more obvious with the two hickory ones than on the poplar ones.
Well, as luck would have it, in February 2021, I FINALLY made a proper picture frame sled.

It performs perfectly, as evidenced by the frame I made for a Christmas present later that year.
With that being said, I haven’t made ANY other mitered frames since then, and I’ve just been too busy working on other projects (see this and this) to go back around and fix those four old frames. Honestly, the parts for the frames got lost in my Scrapwood Storage Cabinet until I cleared it out prior to breaking it down as part of the Lumber Cart 3.0 project.
Well, now that I’m FINALLY not tackling any big projects for a while, I think it’s about time I get these frames completed.
There wasn’t a whole lot to do on them really. All that was needed was to shave just a hair off the ends to get them to perfect 45s and then simply glue them up. Yes, they would be just a tad smaller than they were originally intended, but Lisa hadn’t made any cuts of the finished cross-stitch patterns, so the size of the frame wouldn’t matter. She ALWAYS waited until I was done, just in case some measurements had changed from the original plans.
When I checked the measurements of the previously cut frame pieces, I noticed that they were all about 1/16” LONGER than in my Sketchup plans anyway. This was even better as I wouldn’t be trimming quite so much off overall.
On the sled, I shaved just enough off the leading edge to make a clean 45. After that, I set the stop on the sled to my new measurement, which was 1/8” smaller than my drawings, and made my other cut. All in all, everything turned out great. I checked each frame as I cut all four pieces and they came together just fine.
One “dilemma” I had was I only had the single dedicated picture frame clamp.

This is the largest frame in my dedicated frame clamp.
Despite the relatively weak nature of miter joints (end grain to end grain), there wouldn’t be a terrible amount of stress on these joints. Because of this fact, I opted to just glue up one frame at a time, wait 30 minutes for the glue to set, then remove the frame from the clamps, set it aside to let the glue cure and start on the next one.
After all four frames cured overnight, I started on cutting slots for some splines in the corners of all four frames. I had a piece of 1/4” walnut stock left over from the Charging Station I made this past Christmas. I had just enough material to make splines for all of the frames, with nearly all of the splines being just slightly bigger than the slots…PHEW!!!
Two of the frames (the poplar ones), are going to be painted, so the species for the splines didn’t really matter in the end. After letting the glue set overnight again, I sanded the splines flush with the sides and then proceeded to cut the acrylic and 1/8” plywood for the back panels.

These 1/4” splines are probably a bit too thick for these 3/4” frames, but the walnut piece I had was already at 1/4”, and I didn’t want to try and plane it down further as the piece was a bit on the short side.
With that, all that was left was to apply finish to the frames. The hickory ones are just my old standby rattle-can lacquer, whereas the poplar ones are painted white and black, as that’s what Lisa wanted for those particular cross stitch patterns.
After cutting the two small mats for the hickory frames (and recutting the one for the large poplar one), and adding the saw-tooth hangers, these frames are FINALLY completed. It only took me three years, but they are now done. I still have the mitered walnut frame and the scrapped one to do, but those will have to wait just a bit longer.


For now, I’m happy to have these frames out of my hair and out of my scrap bin. I’m honestly surprised I hadn’t thrown them out already. Usually, when I get upset with a smaller project like these frames, I’ll just get angry and throw the messed up pieces on the workbench or the floor and trash them. I’m learning that most woodworking mistakes can be fixed. If only I’d known that a long time ago. Oh well…gotta keep moving forward.