
Lumber Cart 3.0
About three years ago, I made the Scrapwood Storage Cabinet, modeled off of a build done by John Heisz. It’s been a very functional cabinet since it was put into use, but there were a couple of drawbacks with it.
First, I’m only able to store pieces shorter than 24” inside. I have a number of scraps that are at least that length or longer that I had to store elsewhere. By elsewhere, I mean on a 4-tier Bora lumber rack located above the storage cabinet. Again, the lumber rack is highly functional, but it is very inconvenient when I’m looking for longer scrap pieces. I have to haul my ladder out to get a look at what I’ve got.
Next, I have a number of plywood panels that simply don’t fit inside the scrapwood cabinet. I’ve resorted to storing them on the top of the cabinet, having to move a bunch of stuff to get at them in the process. To say this is inconvenient would be an understatement. I, again, have to take the ladder out to get at these pieces.
Finally, this cabinet was built with the idea of not having full pieces of any sheet goods on hand (as I didn’t have the room). I’ve been good with not keeping full sheets of plywood on hand, however some projects only call for maybe half a sheet and I’ll sometimes have that other piece leftover. This is especially true with the large half-sheet of 3/4” MDF I have remaining from my Rockler Workshop projects completed two years ago.
I’ve been storing that, along with a few other larger pieces of various materials, simply by leaning them against the scrapwood cabinet. Because of their size, they stick out into the one-car garage bay more than I’d prefer.


One thing I AM content with is the fact that I have all of my Ryobi and Makita batteries and chargers, along with my clock and fire extinguisher, hanging on the side of the scrapwood cabinet. This is an ideal location for all of these, not to mention the only convenient place available for all of these items in the shop.

I STILL haven’t gotten rid of that busted Ryobi drill and battery…one of these years I will…maybe.
Back in March 2022, Marie at DIY Montreal released a video and plans for a new Compact Lumber Storage Cart she made to replace the one she made over five years ago. I actually took inspiration from that old lumber cart she made when I designed Lumber Cart 2.0.

Here you see Marie’s new smaller lumber cart (left) next to her old one (right).
I really liked the design of the new smaller lumber cart, so I went ahead and bought the plans for it. After drawing up the cart in Sketchup, based on the plans, I decided to start making some modifications. I wanted to take advantage of the space I already had in the shop, so I figured it would be a good idea to make my version of this lumber cart one section wider.
Also, with this taking up the space I previously used for larger remnants of sheet goods, I opted to add a section on the back of the lumber cart to hold these pieces. This was coming together nicely, however I still had one problem. Where would I house all of my batteries, chargers, clock and fire extinguisher?

With the size of the side panel, there was NO WAY to have all of my batteries and chargers hung in this space.
The most important thing I needed to take into consideration when designing this, was that I wanted to use most/all of the materials from the scrapwood cabinet to make the new lumber cart. Since it’s a shop project, it doesn’t really matter that most of the pieces will have holes and grooves in them everywhere. I’m about saving money and not wasting materials at this point.
With that in mind, the size of the base of my lumber cart was bigger than any of the pieces used to construct the scrapwood cabinet…hmmmmm. I thought about using a couple of different pieces to make up the base, and then using a 2 x 4 frame under it for more support, but there was another problem with that plan.
On the side where I wanted to hang my batteries, chargers and etc, the size of the panel base on the plans wasn’t big enough. I even made a scale drawing of the panel on my workbench and tried my best to get things to fit…no dice.
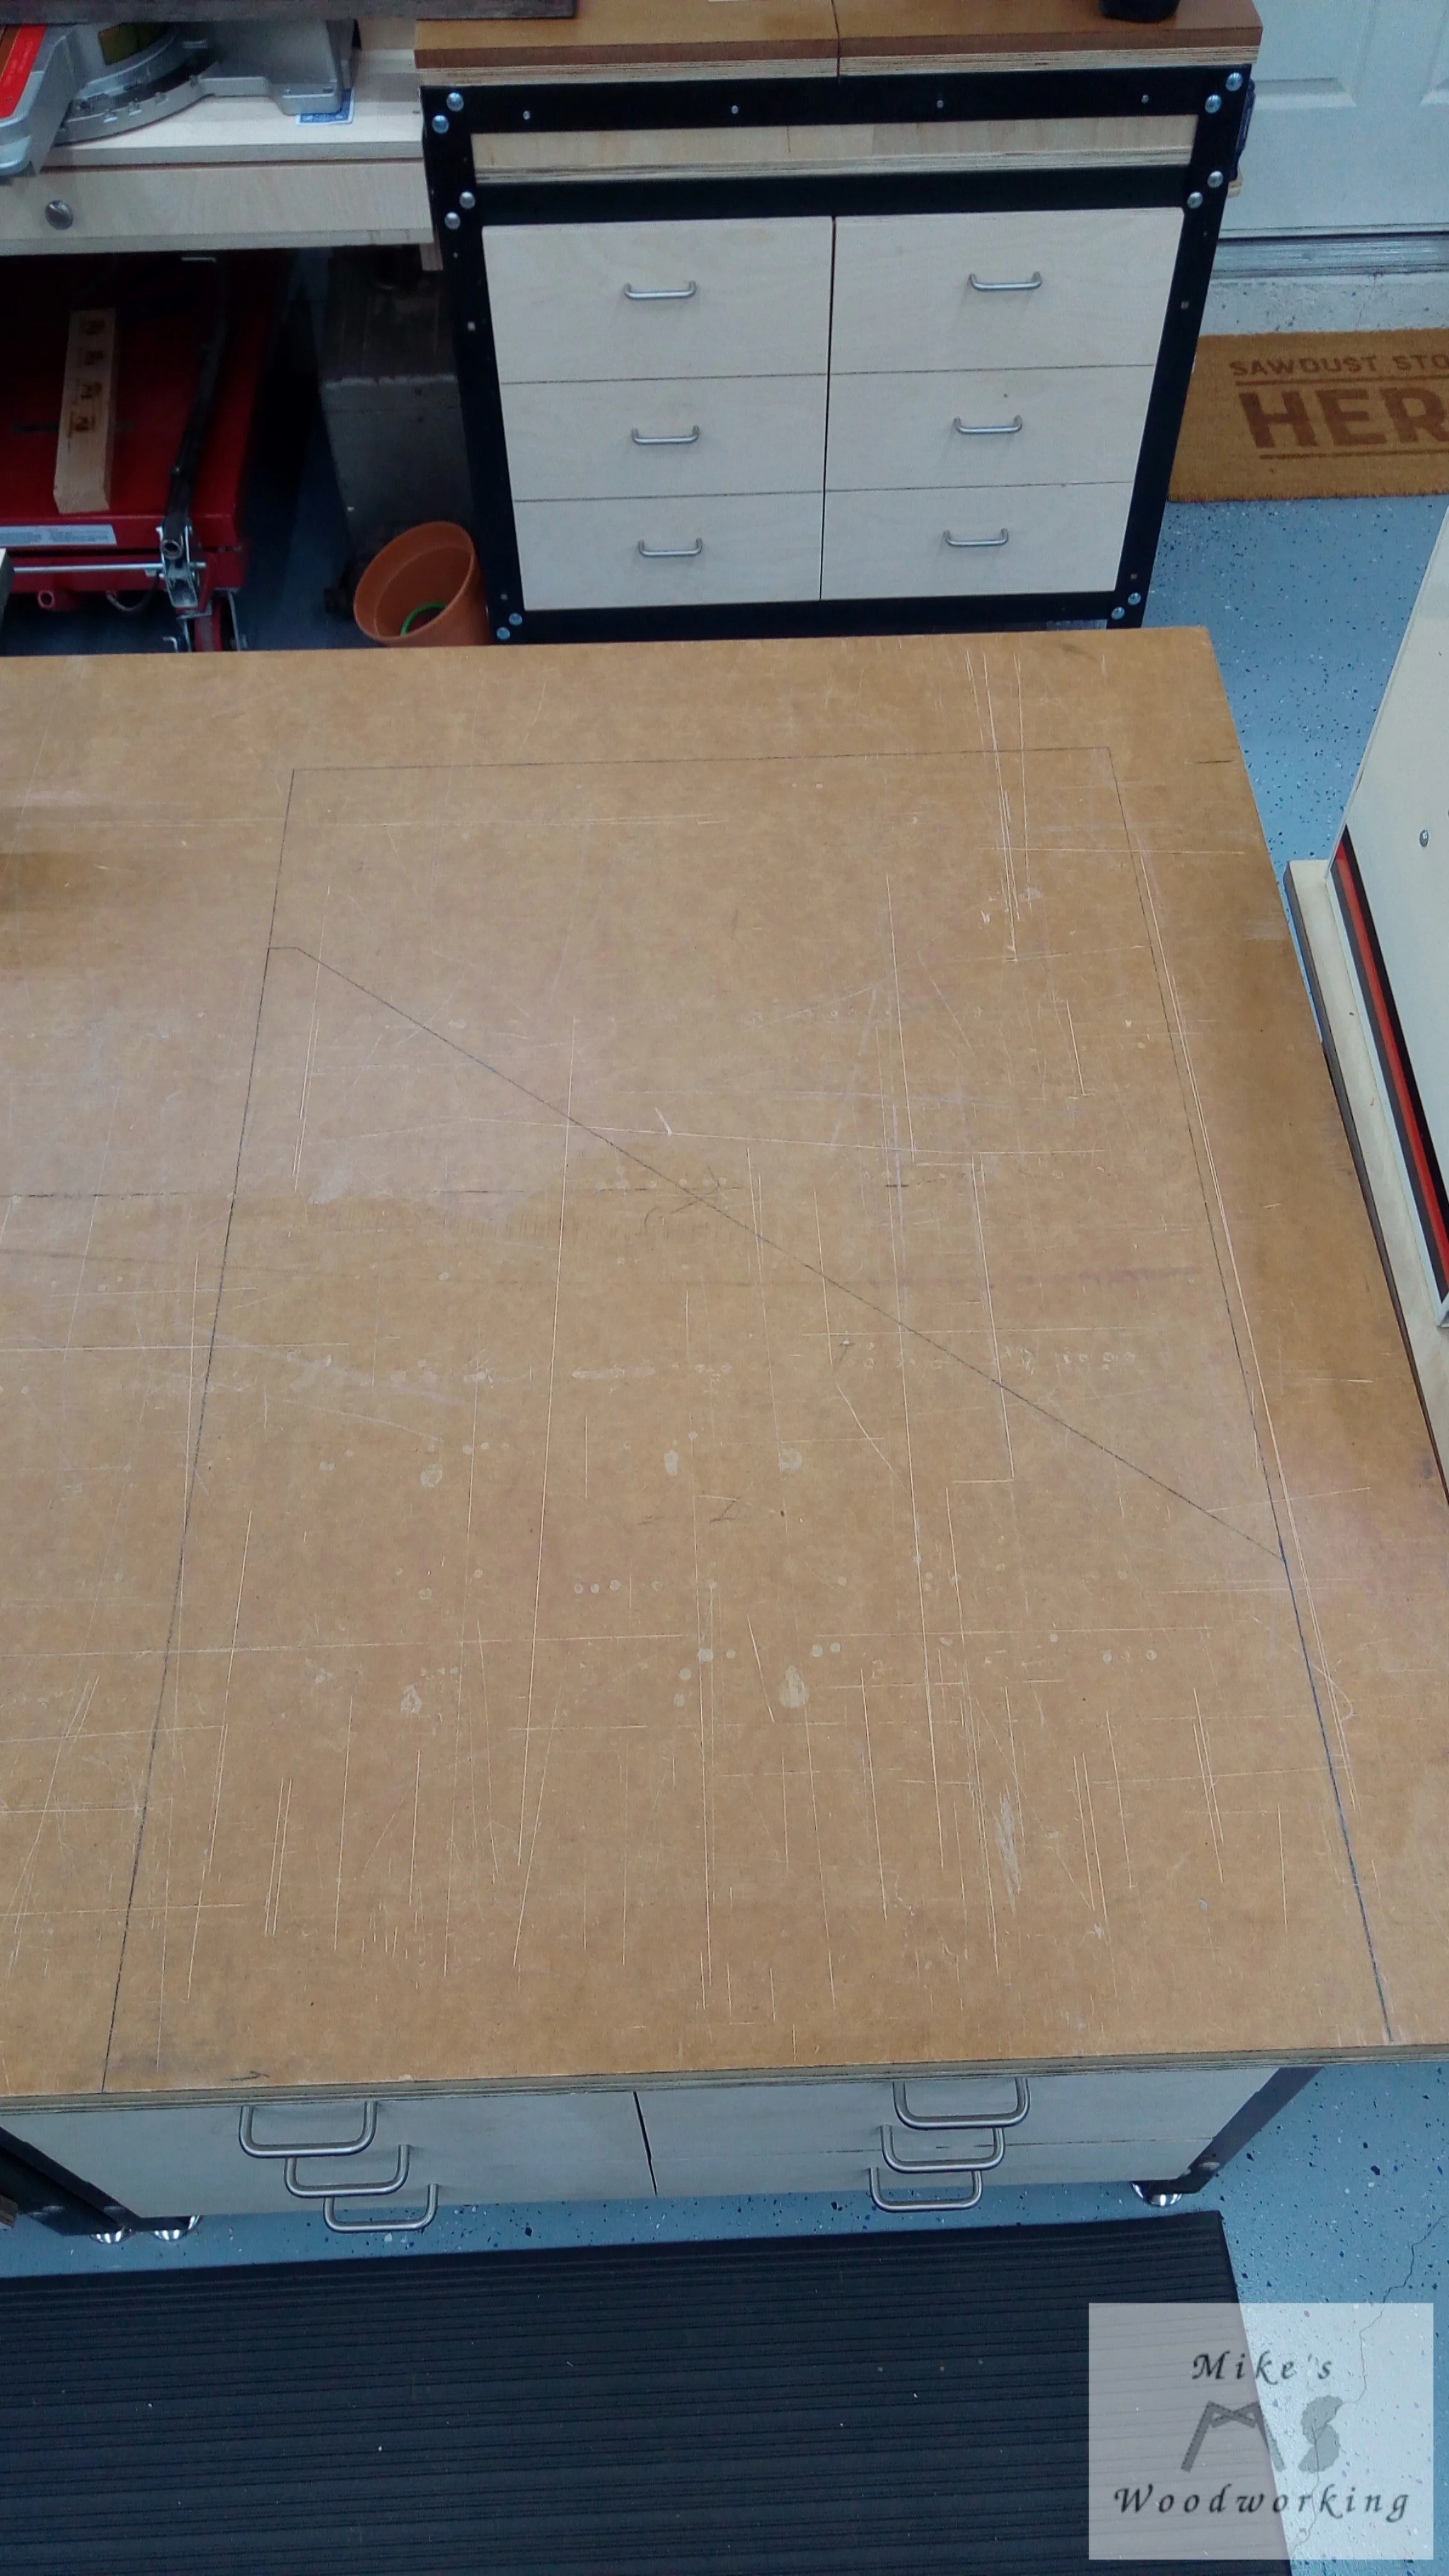
This was the best way to lay things out…by drawing on my workbench top.
One of the panels I had planned for the bottom would possibly make a good side panel, so I went ahead and tried using that.
In the end, all of the chargers, along with the clock and fire extinguisher, wouldn’t fit on there either. It was at that point that I decided to go away from having my batteries plugged into chargers 24/7 when not in use. What I really needed was one of the dual Makita chargers and a couple of the single Ryobi chargers (which have been sitting in a drawer for, literally, years). The batteries themselves could just hang on some StealthMounts battery mounts.
The StealthMounts battery holders were a purchase that was long overdue.
I forget where I first heard of StealthMounts (maybe on Instagram or YouTube), but when I looked into them, they seemed like the perfect solution for my problem. They made products for most major tool manufacturers, and they also made a wall mount for the dual Makita charger. One thing I’ve always hated with that charger was its lack of ability to be wall-mounted.
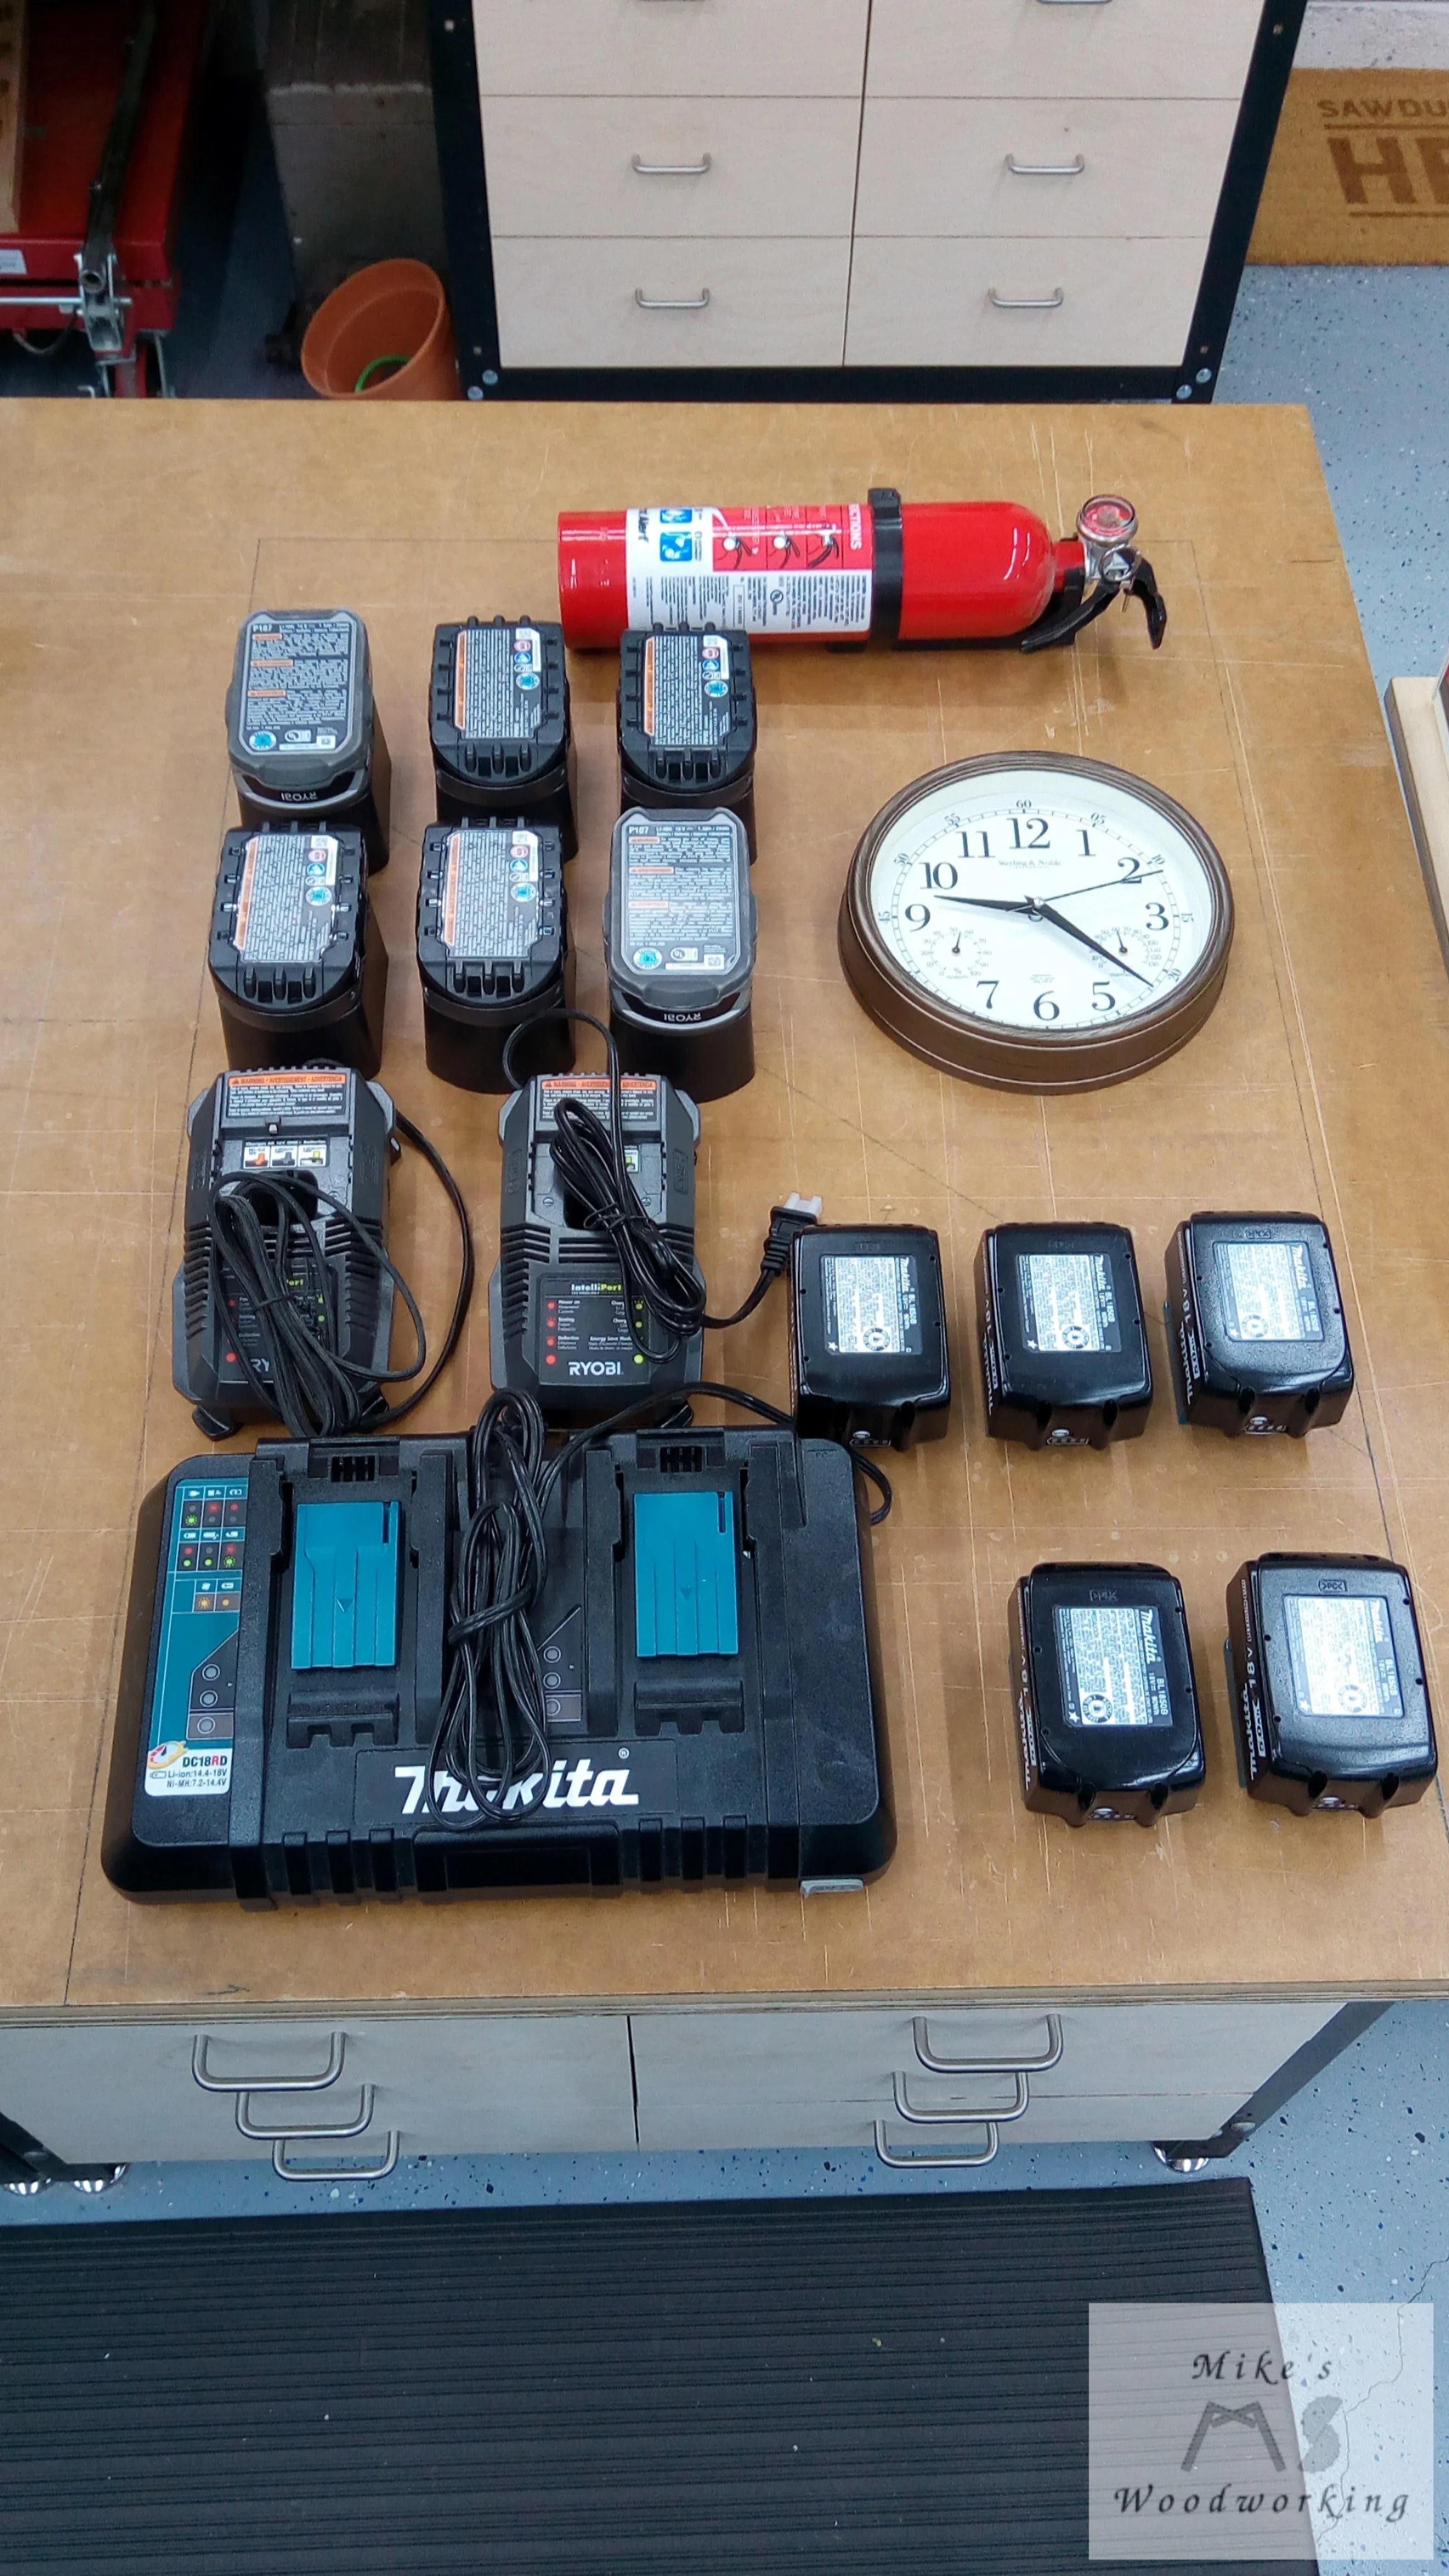
Everything fits neatly in place on this one panel from my soon-to-be-old scrapwood cabinet.
This settled the debate on the left side panel for the new lumber cart. My only problem, now, was what would I use for a base? I thought about it for a bit, and realized that I still had a large piece of 3/4” MDF that I could use. To give it some added strength, I would simply attach a 2 x 4 frame to its underside. That should be MORE than strong enough and aid in preventing any warping of the MDF.

The drawing still shows the bottom with the two separate pieces…just ignore that.
The open sections on the bottom were meant for some removable plastic bins, as per Marie’s original design. While those would work, I opted to make some out of scraps instead. I’ll be holding off on that for a little while, as I want to try my hand at making some box joints for the first time with these. I’ve got other priorities after making the lumber cart, so those will have to wait for a bit.
With a plan FINALLY in place, the next step was emptying the scrapwood cabinet and taking down the Bora shelves. The shelves were easy enough, but the cabinet offered a little more work. Because I glued a lot of the pieces in place, I had to take out my huge Thor’s hammer mallet to get the job done. It left a few dents in the sides, but nothing more than that.
After the cabinet dismantling, I needed to get the 2 x 4 material I needed for the base frame and the panel storage frames. I worked it out that I’d need five 10-footers and one 8-footer. This cost me a total of less than $35. With this being the only amount I’d have to spend on materials for this project (save for the StealthMounts), I’m happy with that.
After cutting all of the 2 x 4s to size, I drilled a bunch of pocket holes in the correct pieces and screwed the frames together. I then cut up and fit a bunch of miscellaneous 1/4” plywood pieces to serve as the “skin” on the inside of the sheet goods frames. Only some 1” brad nails were needed to hold them in place.
The rest of the build was more of the same, just cutting things to size as per my drawing or referential measurements. Just like Marie’s lumber cart, only screws were used for assembly…no glue was necessary.
When it came time to screw the sheet good frame in place, the 2-1/2” pocket screws I had simply wouldn’t offer enough bite when going through 3/4” MDF and into the 2 x 4 frame below. MDF doesn’t offer a great deal of strength in this application, and only maybe 1/2” of the screws would be in solid material. Instead, I used some 3-1/8” screws I had on hand in their place. These gave me well over 1” of bite into the 2 x 4 frame.
The cart went together mostly without issue. I did have to cut a couple of pieces shorter, but this was due to the materials I had and their measurements. I couldn’t go strictly off of Marie’s plans for this as I was using different sized plywood pieces.
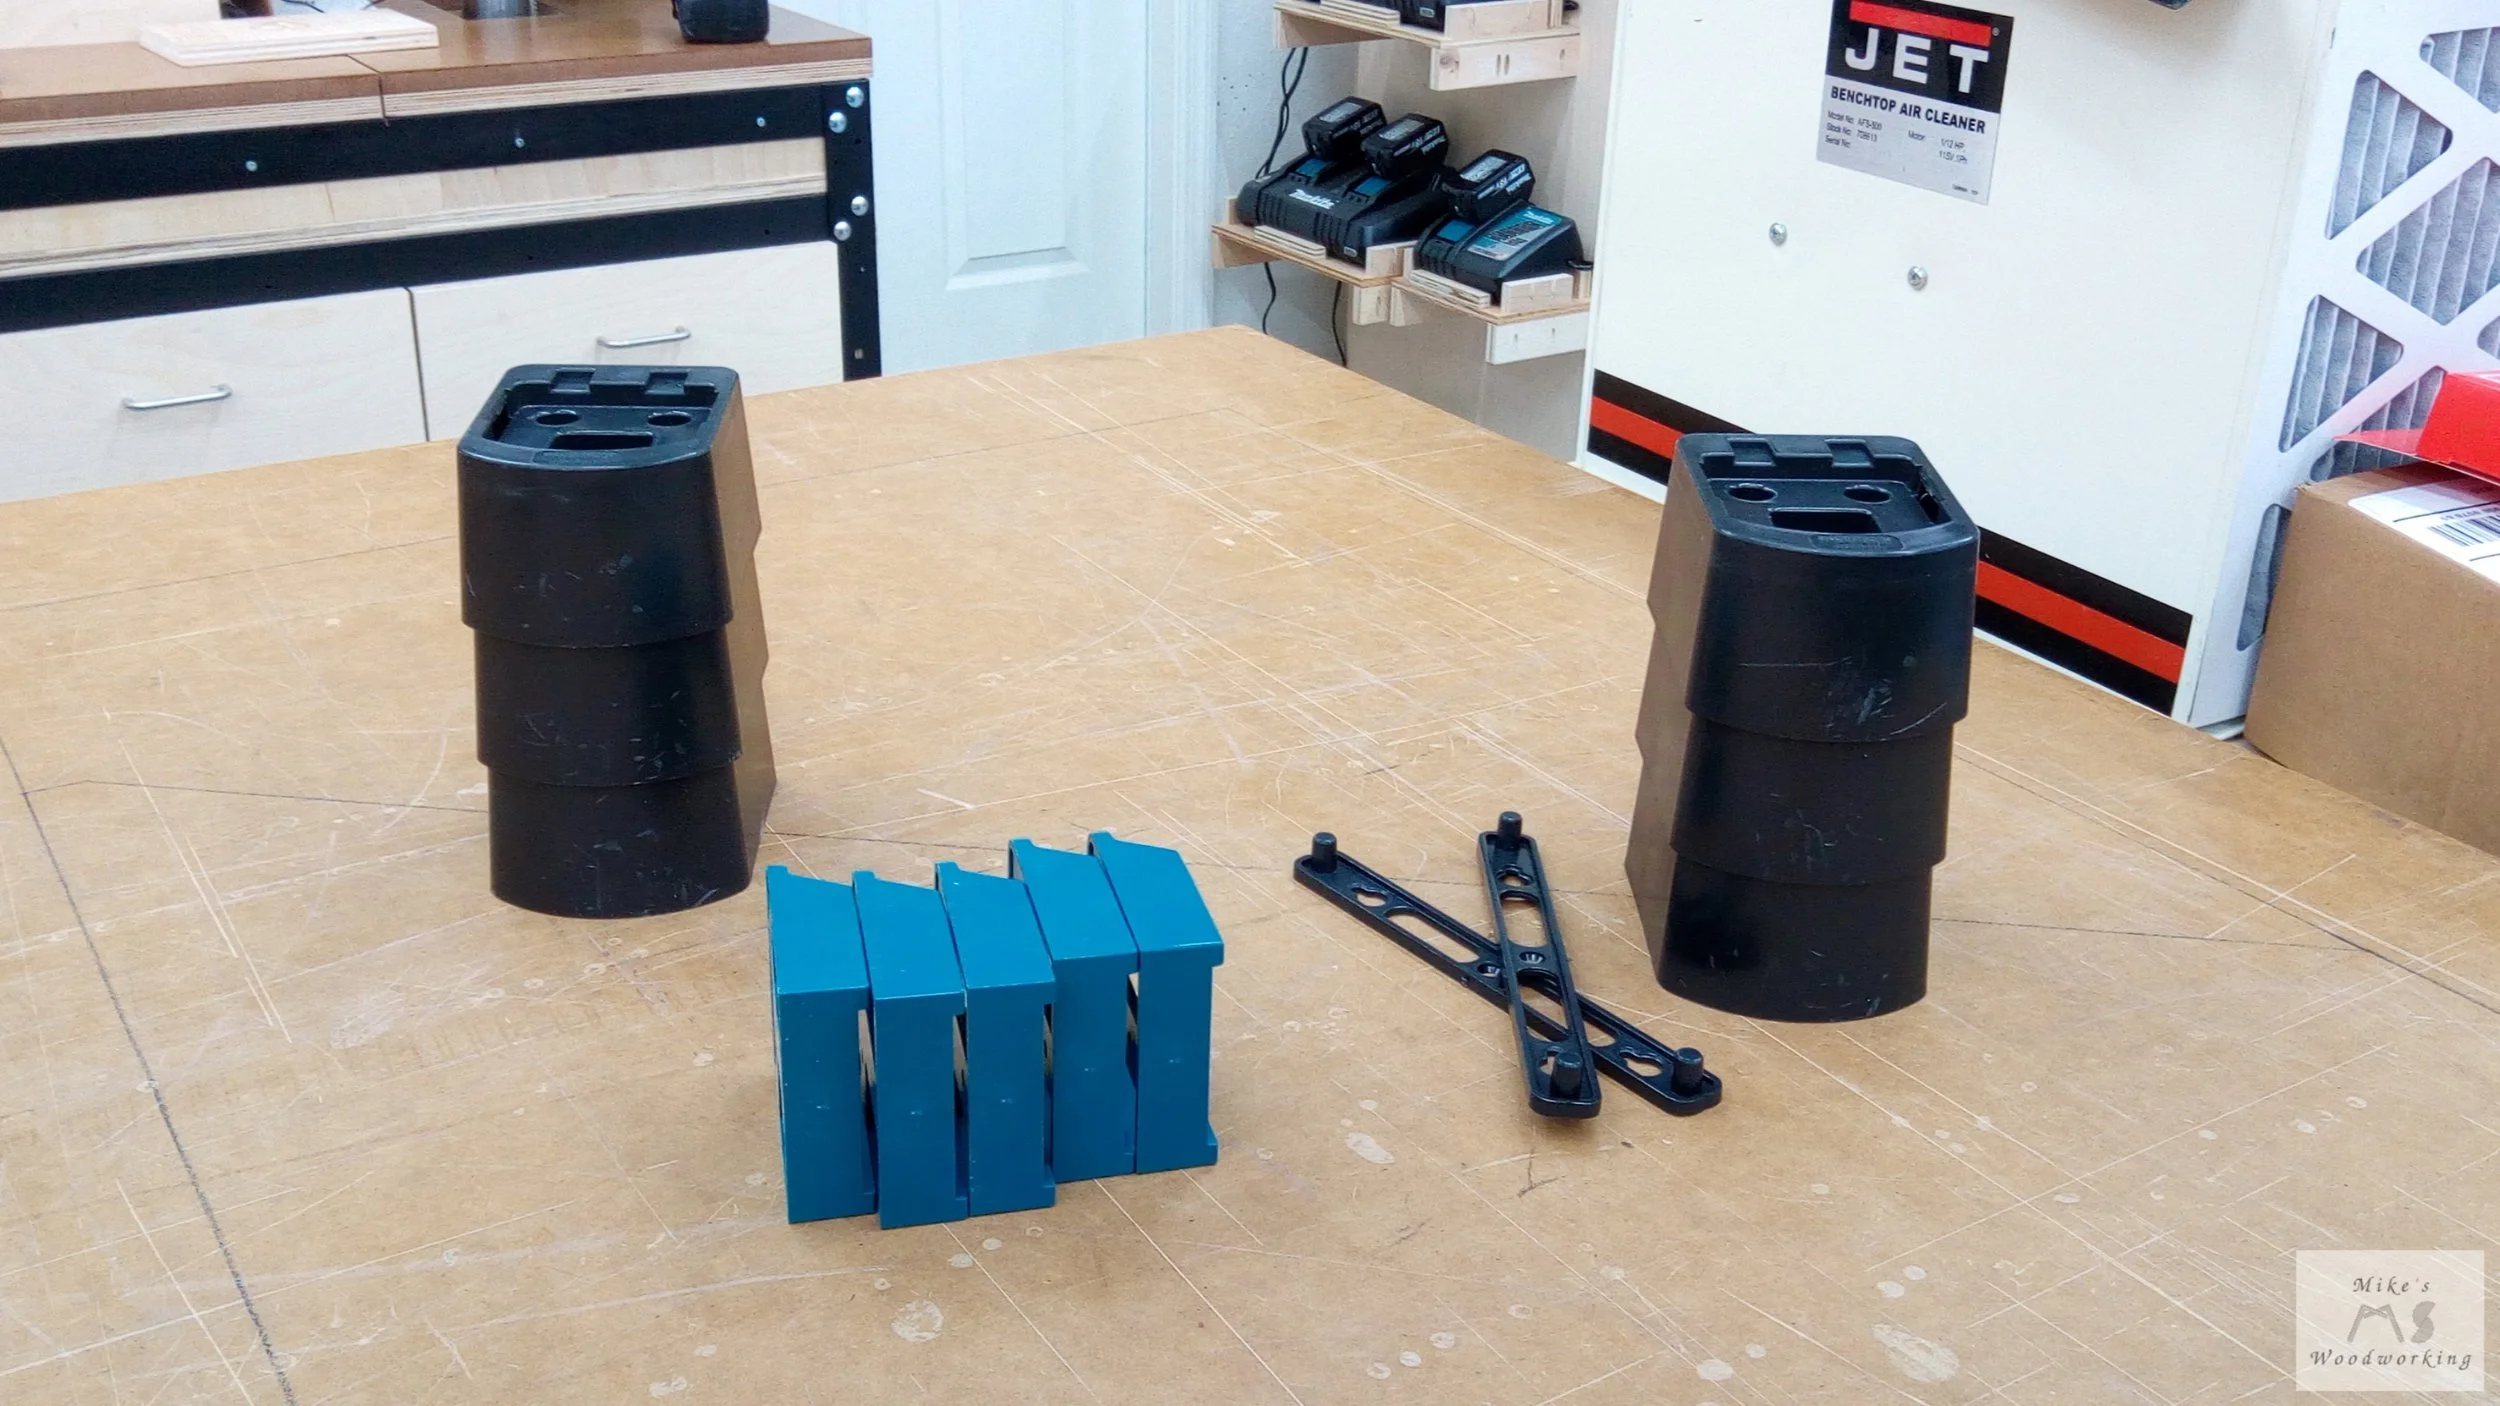
I wanted to have this lumber cart on casters, even though it wasn’t likely to be moving much from its final location. Also, because of the slope and unevenness of the garage floor, I didn’t like that the cart might be leaning one way or the other, possibly letting pieces fall forward.
To mitigate this, I went with some leveling casters I’d seen Neil at Pask Makes employ for one of his projects. I went with some newer ones that offered a ratcheting lever for raising/lowering. After installing them, they performed flawlessly. These levelers/casters have a total rating of 2,200 lbs, so I think I’m good to go there.


With that, my Lumber Cart 3.0 is complete. I loaded up all of my scraps, and attached all of my batteries and chargers, and everything looks great. Laying that panel out on my workbench first was the best way to go when arranging all of those items.


When it came to load everything into the cart, I had WAY more material than could fit in the lumber cart. With that, I decided to make another purge of materials that I knew I simply wouldn’t use or were not worth keeping for a multitude of reasons.
One other thing I made note of was the middle part of the 2 x 4 frame and how far it is above the garage floor. Over time, I want to take measurements to see if it is beginning to sag. If so, I’ll see about adding another leveling caster in both the front and rear. I have the heavy duty leveling feet that I used on the old storage cabinet, but I don’t think those would work as I wouldn’t have enough material to bite into when attaching them to the lumber cart.
I’m really hoping this is the last lumber cart build for a while. I liked having my scraps in a cabinet, behind closed doors, to keep dust off of them (not to mention keep things looking neater). However, when all was said and done, I was severely limited with what I could store in said cabinet.
This project took me one week to complete (Monday thru Friday), so I’m happy about that. I overdid it on the penultimate day of the project, losing track of time. I knew I was getting overworked because things started falling and I was tripping on things. Once that starts happening, it’s time to call it for the day.
With a couple of fairly easy shop projects completed, I’ll be taking a week or so off from the shop to recover a bit. I’ve got a couple of other shop-related things to do in the meanwhile, so I’ll be focusing on them instead.