
A Friendly Gift
As I mentioned back when making my Christmas presents for last year, I had one more I wanted to get done, but simply ran out of time and energy. In the end, I’m glad I waited because I actually didn’t have a concrete plan in mind at the time, plus anything I made would have been rushed and likely not my best work. For this gift, it absolutely HAS to be my BEST work. Well, my best work commensurate with my abilities at the current time.
This is a birthday present for my best friend, Jill. I’ve known her for close to 25 years now (2023), going back to our days stationed together in Alaska while enlisted in the Air Force. She has a very special place in my heart as she saved my life a long time ago (see Malaika’s story for more on that). We’ve been there for each other during some low points in both our lives. When I went on my cross-country road trip last year, the highlight of my epic two-week journey was most definitely the three days I got to spend with Jill. It was heartbreaking to say goodbye, but our time together will live on in my memories forever.
I wanted to make something for Jill along the same lines as the lighthouse and bee projects from the previous two Christmases. While visiting Jill last year, I was reminded that she absolutely LOVES Winnie the Pooh. Well, that’s a no-brainer then…Winnie the Pooh it is!!
I wanted something more than just Pooh, though. I wanted to make something that symbolized our friendship. The perfect way to do that, obviously, was with an image of Pooh and Tigger together. I did a search on Google and found a site with some rather good images of the both of them together.
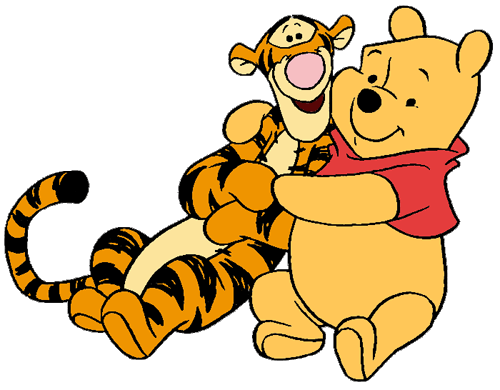
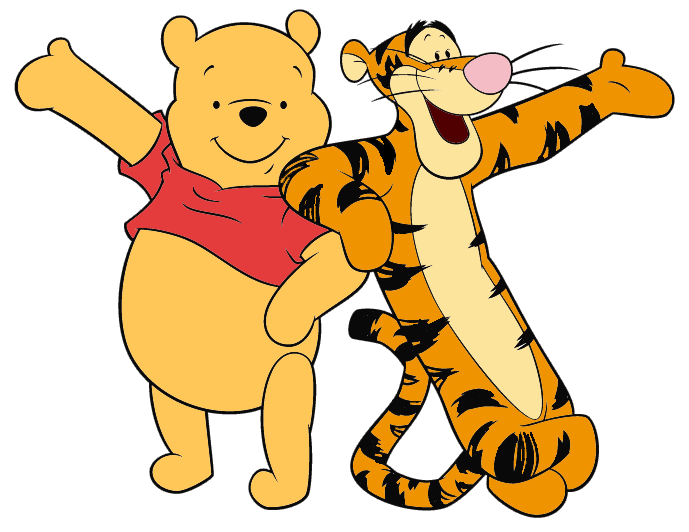

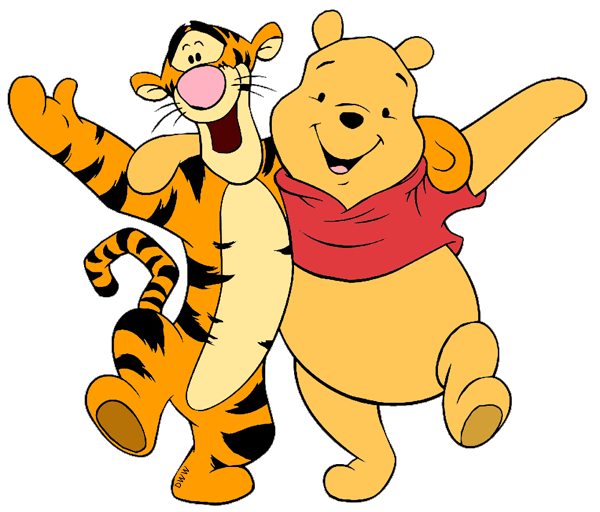
I especially liked the first and third images with Tigger and Pooh hugging each other. I wasn’t sure I could pull off making either of those, however. I searched more and found what seemed like the best of both worlds (meaning and my abilities for making it).

Two friends leaning on each other…MWAH…perfection!!!
With the right image in hand, now comes the choice of materials. For Pooh’s body I’ll go with yellowheart, and his shirt will be bloodwood. The bloodwood might be a bit too dark, but I really don’t want to paint anything if possible.
As for Tigger, he’s got a bit more going on. The orange of his main body will be padauk, and the light color for his tummy and face will be poplar. I wasn’t sure about the poplar from the onset, simply because the rough piece I had didn’t give any clues as to the color beneath. After milling it down, there were enough lighter sections to yield the few smaller pieces needed.
For both of the noses, Lisa made a great suggestion of using some felt. Pooh’s black nose could be pulled off with some wenge, but the pink of Tigger’s was a whole different story. Felt comes in a vast array of colors and will offer a nice contrast and tactile appeal. As for all of the dark lines, eyes and Tigger’s stripes, I’m going to try my hand at woodburning or pyrography.
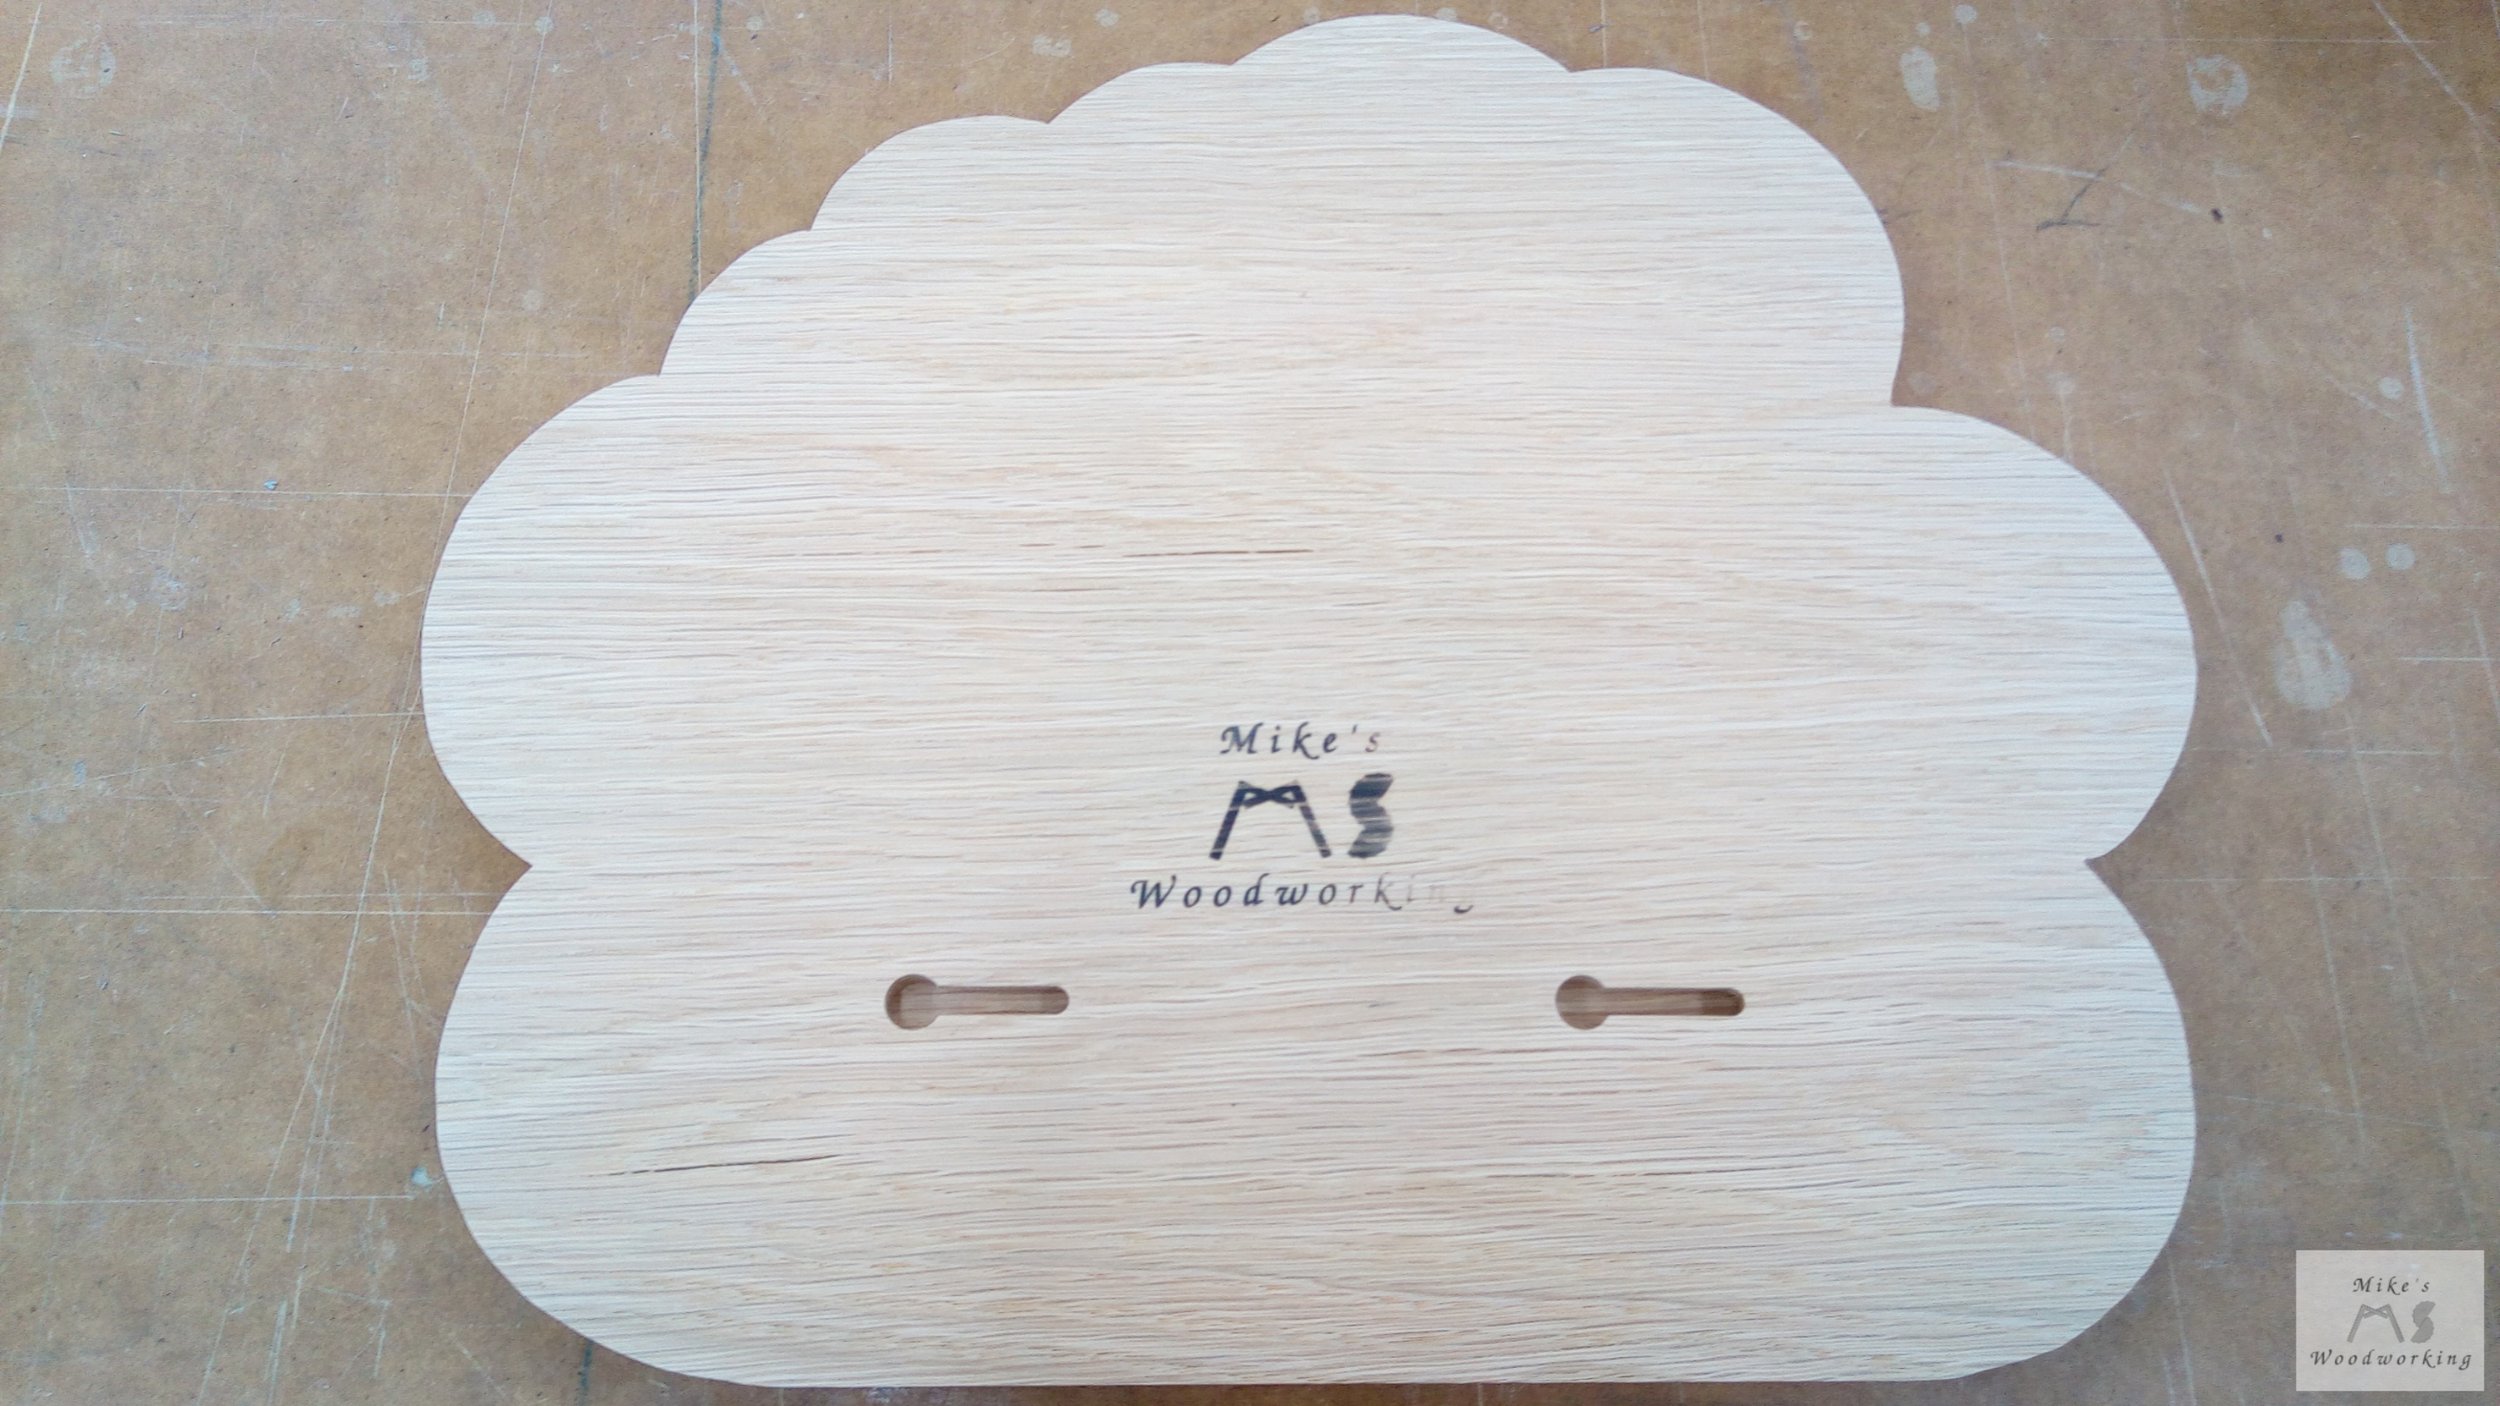
The completed image will be placed on another piece of a white oak panel from the hall bench project. I’ve actually got an offcut from the lighthouse that’s perfect. The white oak will, again, be in the shape of a cloud, although a bit different shape than the lighthouse one.
My plan is to have Pooh and Tigger in the center near the top, and have a poem I wrote underneath them. I originally wanted the poem to the side of Pooh and Tigger, but space was really tight. After mocking it up, it looked better with the poem on the bottom anyway, and space wasn’t quite too stringent there.
The image of Pooh I downloaded was a bit large when I printed it at 100%. I tried it at a couple of different sizes and 85% was the clear winner. It would have been easier with the 100%, but it simply wouldn’t have been the right fit for this particular project. My plan was to transfer the outlines to the materials with simple carbon paper. It provided a decent line, even on the bloodwood (which surprised me).
I was working with 3/4” hardwood (although poplar is a rather soft hardwood), so I needed to practice some of my cuts and techniques on some scrap plywood first. I was able to (mostly) follow the lines, but some of the tighter turns were a bit of a struggle for me. I’m still kind of learning on the fly when it comes to the scroll saw.
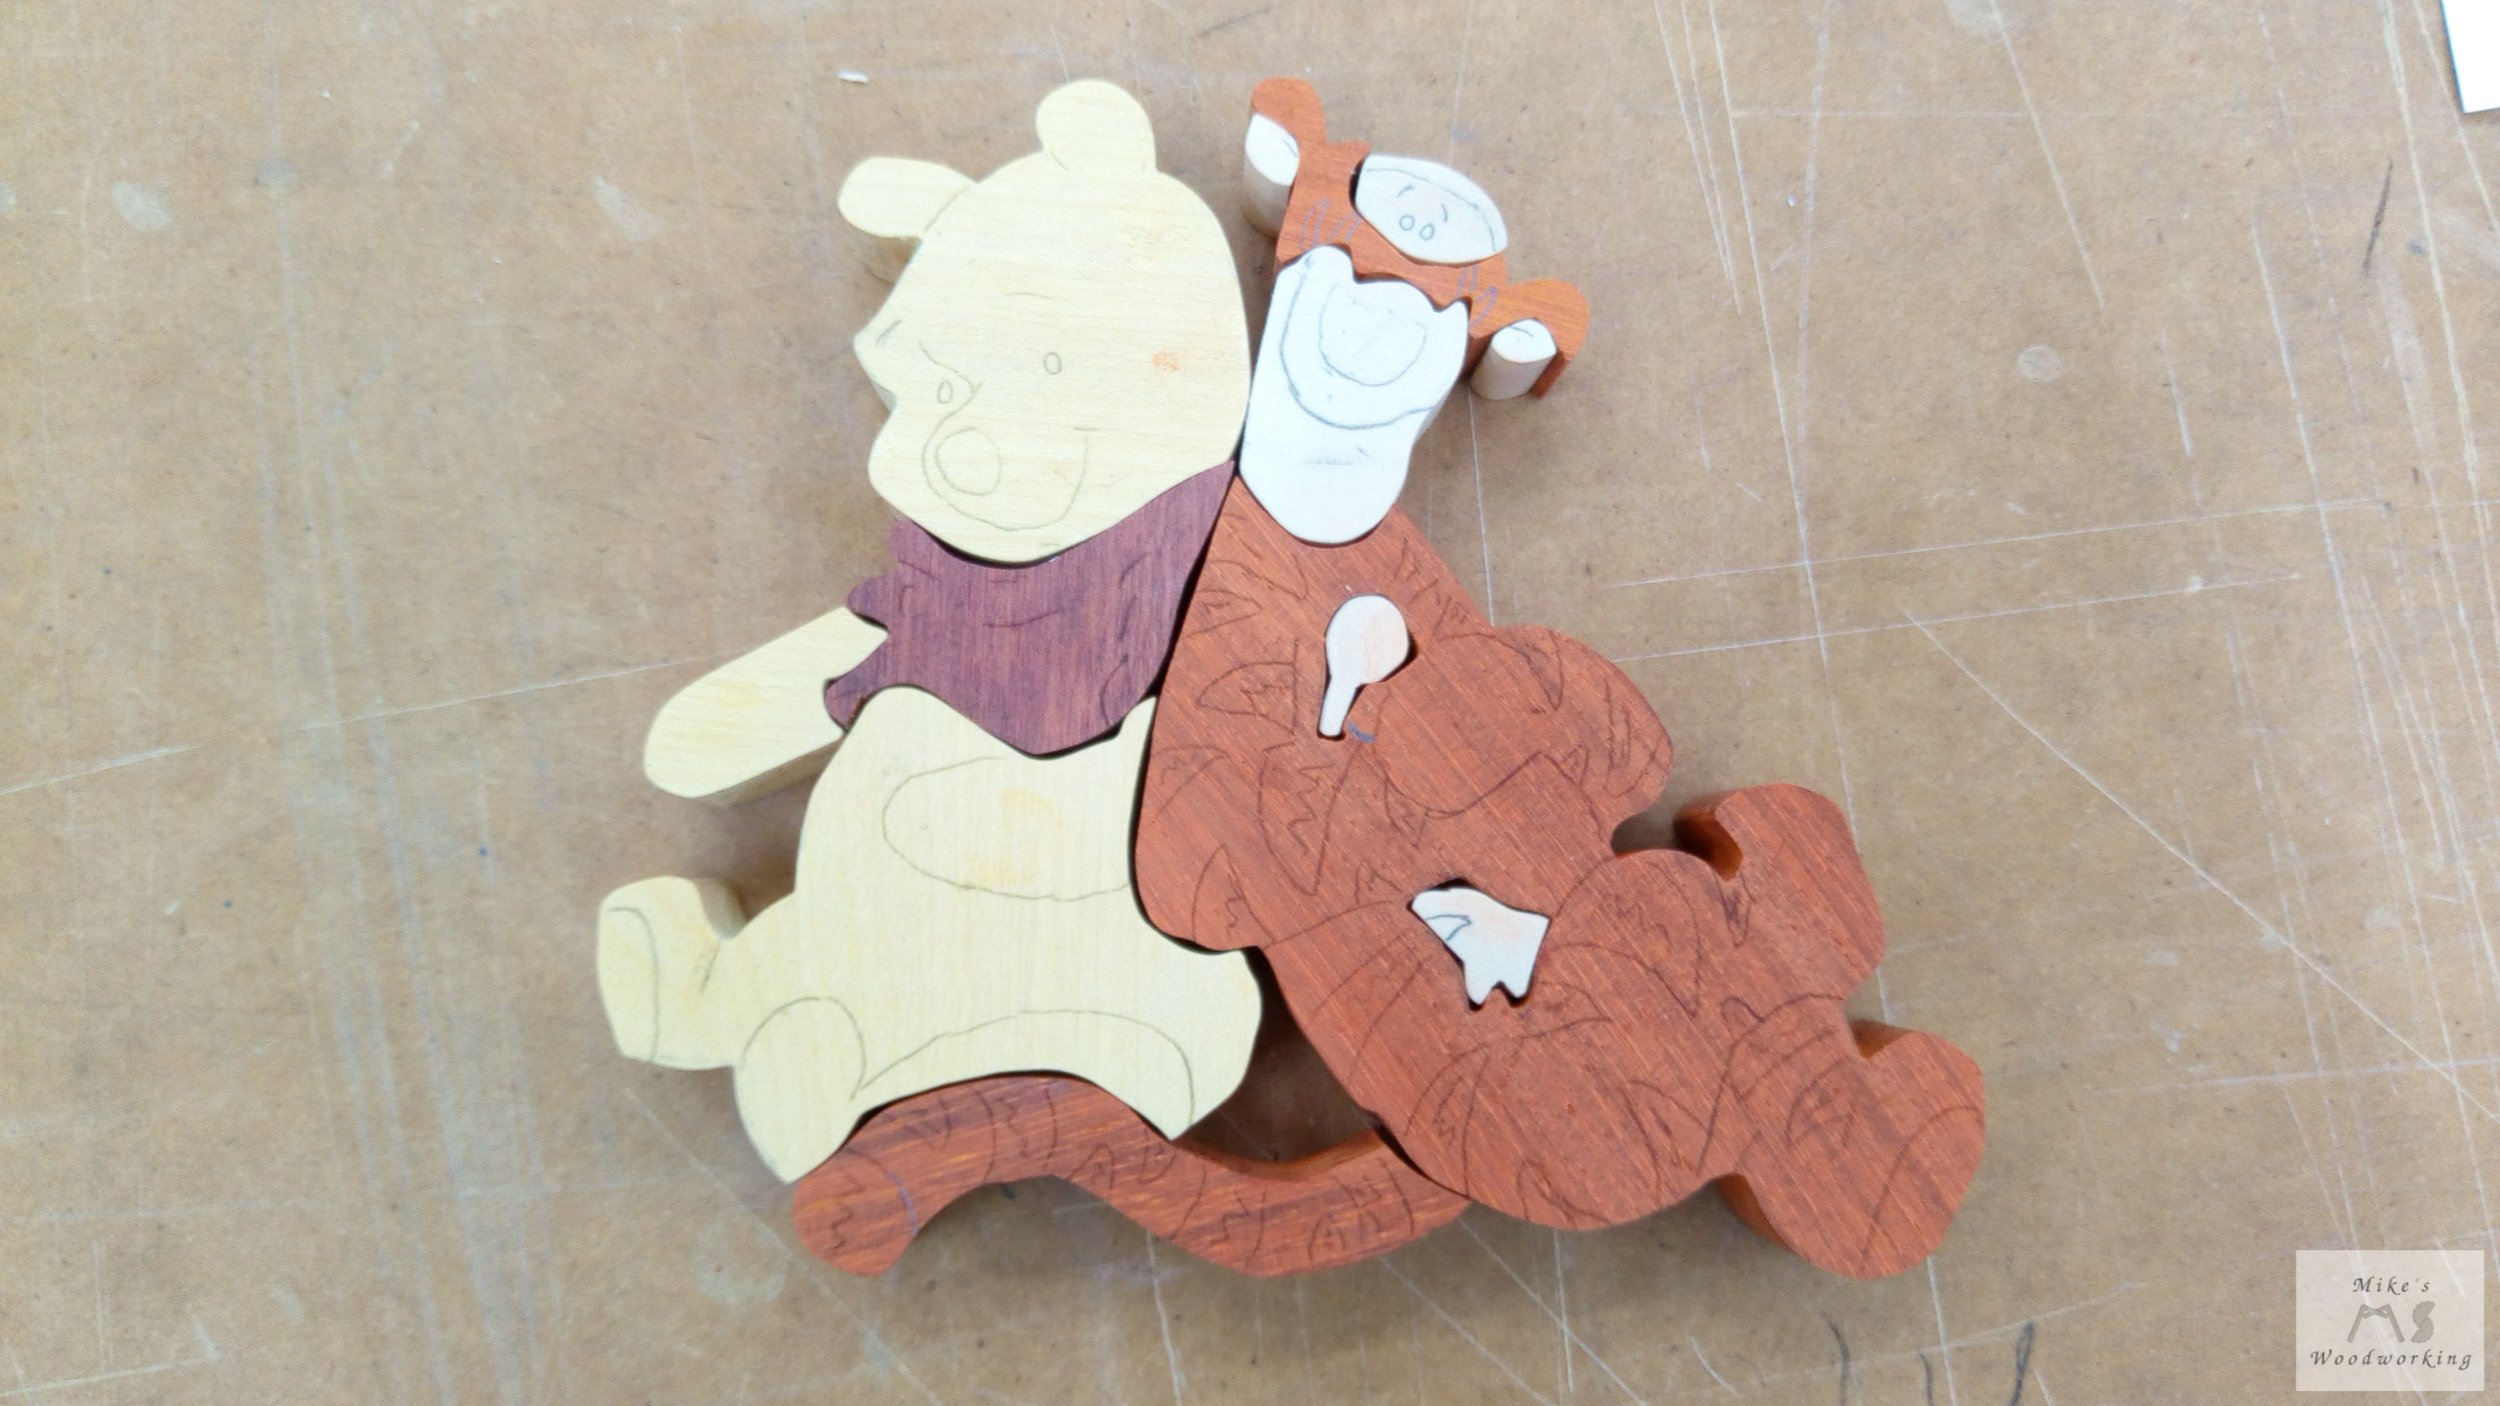
Because Tigger’s body was going to contact most of the other pieces, I cut that out first. The padauk was tough to cut, but the new blade made for a wonderfully clean cut. A couple of the curves gave me trouble, but nothing that would look way out of place.
Next up was Pooh’s body, made from yellowheart. It was a fairly simple piece, so it didn’t give me too much trouble. The density of yellowheart, compared to the padauk, was VERY noticeable. It cut a bit easier than when cutting out Tigger’s body. Where Pooh and Tigger came together, I used Tigger as the reference and drew the rest based mostly on the original drawing. This worked out fairly well, and was the technique I employed going forward with the rest of the pieces.
Pooh’s shirt was next. It was a bit smaller piece, so that gave me some trouble in trying to hold the wood down while cutting it. Also, that bloodwood is HARD. It is INCREDIBLY dense, and was actually smoking a couple of times while cutting it. I might have been pushing the wood too hard through the saw, something I need more practice with. I got it done, and the couple of sharper curves came out just fine (although, again, not exactly on the lines).
Pooh’s arm and head were simple enough, and cutting the yellowheart was welcomed after that bloodwood. Everything was starting to take shape, with only a couple of smaller pieces remaining. I made sure to leave those for last.
Now was time to finish off Tigger’s head. It was mainly poplar, so that wasn’t hard to cut at all. I didn’t quite get the shape exactly like the drawing, but it would prove just fine in the end. The smaller piece of padauk for the upper part of his face, on the other hand, was much more difficult to cut. For one, it was a smaller piece, and it had some rather tight turns needed while cutting it. I did the best that I could, and was satisfied in the end. They didn’t fit together perfectly, but I never expected that with ANY of the pieces anyway.
The little poplar cutout for Tigger’s eyes/brow and ears were simple, just tedious. I had to make sure to use a large enough piece to hold onto in order to control my cuts. I made that mistake on the previous padauk piece and had to redo it. After those small pieces were cut, the blade literally popped them out of the wood.
The LAST thing to do was back on Tigger’s main body. I needed to cut out the two small holes from the padauk to fill in with poplar, representing his tummy. I made sure to practice on the same plywood piece I cut earlier, and I felt comfortable enough with the operation to give it a go for real. I drilled out two small holes and inserted the blade. The cuts were small and the corners sharp, but I was able to follow the lines pretty well.
As for the poplar in-fill pieces, that was another story. I was finding it very difficult to get them to fit exactly, so I just cut them relatively close to the opening and sanded them in a few places to get them to fit. They didn’t fill the openings exactly, but, again, I’m not trying to make things fit perfectly.
With that, all of the cutting was finished and I was liking where this was all heading.

I needed to sand a few spots on some of the larger pieces to fit a little better, but overall everything went together well.
I opted to make Tigger’s tail a separate piece in the end. I didn’t think, with such a small connection to the main body, it would hold up and stay together otherwise.
I probably didn’t need to go with 3/4” material for this project. For one, it would have been MUCH easier to cut the smaller and tighter curves with thinner stock. However, given the previous two projects with similar designs utilized 3/4” material, I wanted to stay consistent with my designs. In the future, I may go thinner, at least for the main pieces.
After sanding everything to 180-grit, it was time to do the part I was dreading the most…woodburning. Truthfully, I hadn’t done woodburning since I was 12, for a school project. I already had a cheap solid-tip woodburning kit on hand that I bought a couple of years prior, so I figured I’d just use that.
I did A LOT of practice with the various tips and I was simply NOT happy with the results. It was VERY difficult to follow some of the lines, especially given I was dealing almost exclusively with curves. Maybe it was my technique. I went to the novice woodworkers library (YouTube) and started searching for all things woodburning. I came across some videos by Jannie Lisonbee at Burn Savvy. She had a lot of very helpful videos when it came to the different tips and their uses.
One thing I did learn, was that there was another kind of woodburner out there that was different from the one I was using. I had a solid-tip burner, but there was also something called a wire-nib burner, and it offered a host of different options and tips. After watching a few videos on the wire-nib burner, that seemed like the much better option for me. The biggest advantage was going to be temperature control. Yes, some solid-tip burners have temperature control, but the wire-nibs appeared to allow me better control, which was what I was looking for.
Luckily, my local Michael’s had a wire-nib woodburner in stock, so I headed on over and snatched it up, along with a couple of other shading tips.


After reading the instructions, I dove right in and started testing the wire-nib burner…WOW. This experience with woodburning was a complete 180. For one, the wire-nib tips heat up and cool in mere seconds, a nice change from having to wait 4-5 minutes for the solid ones. On top of that, the hand tool was smaller than its solid-tipped counterpart, giving me a better feel and MUCH better control. I have smaller hands to begin with, so this was a perfect upgrade.
I did A LOT of testing of the various wire-nib tips, and I finally decided on which ones I would use. I won’t bother listing what I used as woodburning tips can all be used for many various things other than their given design, based solely on the part of the tip being used. I chose what worked best for me, my skill level and the materials I was burning.
Next up was to lay out all of the lines and shading areas on the pieces. This was a bit more difficult than I first thought it would be, mainly because my cutouts didn’t exactly follow the lines of the original drawing. I wound up cutting out each from a piece of paper and using a small scrap of carbon paper to transfer the necessary lines. I adjusted a few that were just a bit off, and I think they came out fine.
Simply drawing the lines makes Pooh and Tigger really come to life that much more.
Given the larger gaps in between some of the pieces, I opted to go with burning the outside edges of all of the pieces. This would hopefully blend the gaps a bit better, and at the same time make it appear more like the drawing. The hardest and most time-consuming part was definitely going to be Tigger with all of the shading of the stripes. I left that for last.
With the outlining done, I took to getting all the lines for Pooh. This went quite well and he just came to life that much more. The yellowheart shows the lines VERY nicely, whereas with the bloodwood they were a bit more subtle (at least to me). Next were the small pieces for Tigger’s head and face. Adding the small dots for the eyes really makes a huge difference in the appearance of both of them.
Finally it was time to work on Tigger’s main body and tail. I started with the lines that showed the definition of the legs and arms. This would better define the right areas for shading. I took my time with shading, making sure I didn’t miss any spots. I actually found a definition line that I missed, so I quickly touched that up too. With a couple of final touch-ups, they were done. I used some super glue to hold the pieces together.

Choosing to burn the outline of all the pieces was DEFINITELY the way to go.
The picture says it all. I’m missing the felt noses for both of them, but to say I’m ecstatic would be a gross understatement. I’m not going to lie, but I was almost brought to tears when I took a step back and looked at what I’d created again. It is about as close to the drawing as I could probably get, and considering it’s made entirely of wood, with no added colors, makes it all the more special. All that’s left now is to lay out the cloud and cut it out.
Like I mentioned earlier, I’m using a cutoff of a panel from the hall bench build that was leftover after making the cloud for the lighthouse. I used a pint paint can and the flocking glue can (a spray paint can is about the same size) to make the outside of the cloud. There’s no steadfast right or wrong way to make a cloud…it’s more just a feel, really.
When I went to cut the cloud out on my scroll saw, I still had the same blade installed from when I cut out Pooh and Tigger. I started cutting the white oak cloud and it was EXTREMELY slow and was burning the wood. I took the blade out and noticed that it was blued from overheating…straight up trash. I swapped in a new blade and it made the cut without issue.

I wasn’t too sure when I drew it, but after cutting it out, I really like it.
I sanded everything to 180-grit, routed the two keyhole slots in the back, and FINALLY remembered (for once) to apply my brand. The brand didn’t come out perfect on the one side, but it’s fine…I don’t think Jill will care.
With that, the finish line is near. I took Pooh and Tigger and applied a thin layer of wood glue to the back and set them in place. I used my favorite clamp to hold it in place overnight.

Next up is applying the spray lacquer. I wiped everything down with mineral spirits first and then applied three coats of Deft clear gloss spray lacquer to both sides. The lacquer makes the different colors just pop and come to life. I hate doing finishing sometimes, but the end results prove their worth once completed.
I left the lacquer to cure overnight, and after buffing with some crumpled craft paper, I carefully cut out the two felt pieces for Pooh’s and Tigger’s noses. I just used a small dab of super glue to stick them on. I’ve used super glue on lacquered pieces before and it adheres well. With this just being felt, I’ve no doubt it will last.
To finish off the piece, I’m again enlisting the help of Lisa to cut out the lettering with her Cricut. There is, apparently, a font called “Pooh” which is the same as the one created by A.A. Milne. Lisa found a way to import that font into the Cricut software and was able to cut out the lettering for my poem. As usual, I was simply a helping hand, when necessary, to apply the vinyl lettering. The end result…well…

I absolutely LOVE how this turned out. To be able to pull off something like this, with only the natural color of the wood providing all of the colors (save for the small pieces of felt), is nothing short of amazing. The lines that shape Pooh are sharp, and all the work on Tigger is just awesome.
The personal gifts I’ve made have DEFINITELY meant the most. This one, I think, tops them all thus far.
And, lastly, as of the publication date of this article, March 27, 2023, Jill has received her gift. However, I do not yet know what she thinks of it…she’s going to wait until her actual birthday to open it…a month from now. AAAAAAGGGGHHHHHHH!!! The suspense is killing me…I don’t want it to last. It’s all good. I still love her, even though she’s going to make me wait :)
***UPDATE*** I am very excited to report that Jill has finally opened her birthday gift and her reaction just floored me. She told me that seeing what I made for her caused her to cry, and that it was the most thoughtful gift she’s ever received 🥰 I’m not going to lie…I started to well up a bit.
I just don’t know what else to say. The only thing that could have made this better was if I could have personally given this to Jill and witnessed her reaction first-hand. We likely would have both been crying at that point, and hugging for a while after.
This absolutely reaffirms two things…my love for making things, and the love I have for my BFF ❤️❤️