
COG Puzzles
After seeing a video that Steve Ramsey at Woodworking for Mere Mortals (WWMM) did where he made these small puzzles, I knew these would make a perfect Christmas gift for Lisa’s cousin’s two boys and my friend Shanti’s two girls. The puzzles were only made of three pieces, so they shouldn’t be too difficult for a child aged six or older to solve. The choice of materials could be just about anything. Steve provided a link to free templates for the puzzle in the video description of the video, so I downloaded those and got to work figuring out what I would use to make the puzzles.

This is Steve Ramsey’s version of the COG puzzle in walnut.
I had plenty of scrap hardwood laying around from my last batch of successful and failed picture frames, so my decision was pretty much made for me. An added bonus was that the cutoffs of poplar, hickory, walnut, white oak, and cherry I had were the exact width and thickness I needed for the puzzle pieces. All I would have to do is cut the scraps to rough length for each piece and group them together into the best combinations. I asked Lisa to help me with that and we came up with the ones pictured below.

From left to right we got hickory/cherry/white oak, cherry/hickory/white oak, hickory/white oak/walnut, hickory/walnut/poplar, hickory/cherry/white oak and the last one is all hickory (I had a lot of scrap hickory from those frames). You can see that there were three of the sets that were exactly the same. I wound up changing those around prior to cutting everything, simply to break up the monotony (more on that later).
A Clog in the COG
I only need four of the six puzzles as gifts, so two of them will be mine to keep or give away later. I decided that I would definitely keep the all hickory one for myself, so I decided to start working on that one first. This would give me an idea of what I was getting into as far as a production process. Not to mention, the hickory was going to be the most difficult of all of the pieces to work with anyway, given that it is such a hard wood.
I cut out one of the templates I printed off and glued them to each piece with some Elmer’s spray glue. This was the same glue that Steve used in his video so I figured I’d be safe in using it. The only place I was able to find it locally was at Jo-Ann Fabric. After letting the glue set for a couple of minutes, I got to work on the ‘C’ and ‘G’ pieces.
Unlike Steve, I decided to use the band saw to cut out the ‘C’ and ‘G’ pieces. I would still need to use my jigsaw for the ‘O’ piece (I don’t have a scroll saw or a coping saw), but I figured I’d save myself a lot of work with the hard-as-nails hickory by doing the bulk of the work on the band saw. I cut up to the lines on both pieces and then, erroneously, took off the templates with a heat gun. Yeah, I don’t know what I was thinking by removing the templates from the unfinished pieces. I still need to do more shaping of the pieces and the lines would still prove to be useful. Chalk that up to a learning moment for the next few sets of puzzles.
I finished the work on the band saw, and I knew I had a bit of work to still do with sanding the openings to fit the pieces. I moved onto the ‘O’ piece next. I started by drilling a hole at the drill press that would be big enough for the jigsaw blade. I then clamped the piece in my moxon vise and tried to get it flush with the top of the vise. This would give me a bit more surface area to maneuver the jigsaw plate around. I started up my JET workbench air filtration unit and got to work.
I’m not going to lie. I was having one helluva time cutting that hickory with my jigsaw. It almost seemed like I was going to bog down the saw to the point of stalling. The wood was just so hard, and my jigsaw was just not liking it. I don’t know if it was partly due to the jigsaw itself (Ryobi 18V that came with the combo kit I bought), the blade (it was only used a few times with some plywood) or just my technique with the jigsaw. It may very well have been all three. I slowly worked my way around the inner perimeter of the hole and finally got to the point where I had enough of trying to cut that hickory with this saw. I decided to call it a day at that point and start fresh the following morning.
And Theeeeeeeeeeennnnn...
I got started the next morning by getting a narrow sanding strip cut and glued to a scrap of white oak I had in my scrapwood cabinet. This was the perfect width to let me sand inside all of the openings on the pieces. I used the same spray glue and attached some 80 grit sandpaper. Looking back, I think I would have been better served with a lower grit to remove more material faster.
I started to sand...and sand...and sand...and sand...and sand. Doing any kind of work on hickory just absolutely sucks, even sanding (especially the end grain). What wasn’t helping my cause was the fact that I didn’t take off enough material with the band saw and jigsaw. Because my pieces were just a bit wider and thicker than the openings marked on the templates, I needed to remove that much more material. I should have set my pieces on the templates, centered them on the lines and then remarked the opening according to my stock’s dimensions. This would have saved me SOOOOOO much sanding time. Again, hindsight is a great thing.
I was starting to make some headway on the ‘O’ piece when I noticed a problem I was having in fitting the other pieces into that opening. It seemed like all of the corners on the ‘O’ were a bit rounded, and the square edges on the ‘C’ and ‘G’ were not liking that. I decided to round over ALL of the edges on ALL of the pieces with my sander and this went a long way in helping fit the pieces.
I finally got the ‘O’ completed, with both of the other pieces sliding through the opening with little resistance. They would bind in certain spots sometimes, but I knew I was going to do more sanding on the outsides of the pieces and this would alleviate the binding. I got to work on the ‘C’ and ‘G’ pieces next. It was more of the same as with the first one...never-ending sanding.
After changing out the sandpaper once or twice, I finished with all three pieces. I still needed to cut them to proper length, but I just had to try them out first. I couldn’t remember how they went together, so I had to watch Steve’s video one more time. I got the pieces lined up and they went together with ease. I was extremely happy with the results.


This was going to be the most laborious of the six puzzles I would make, so it was quite satisfying when putting it together. Since my templates were all removed, I just marked out where to make the cuts and did that over at the miter saw. Finishing notwithstanding, this puzzle was done.
Harbor Freight to the Rescue (yes, that IS what I said)
I went to work on the next one in much the same fashion as the first. This time, however, I decided to drill out the bulk of the material with a forstner bit at the drill press. This would make for a lot less time with both saws in trying to clean up the openings in all of the pieces. I made sure to cut all the way to the line on the templates and actually leave the templates in place until I was done. I still needed to do a lot of sanding to get the openings to the correct size. I was on my third or fourth piece of 80 grit sandpaper when I finally decided I needed a faster way to get the bulk sanding done.
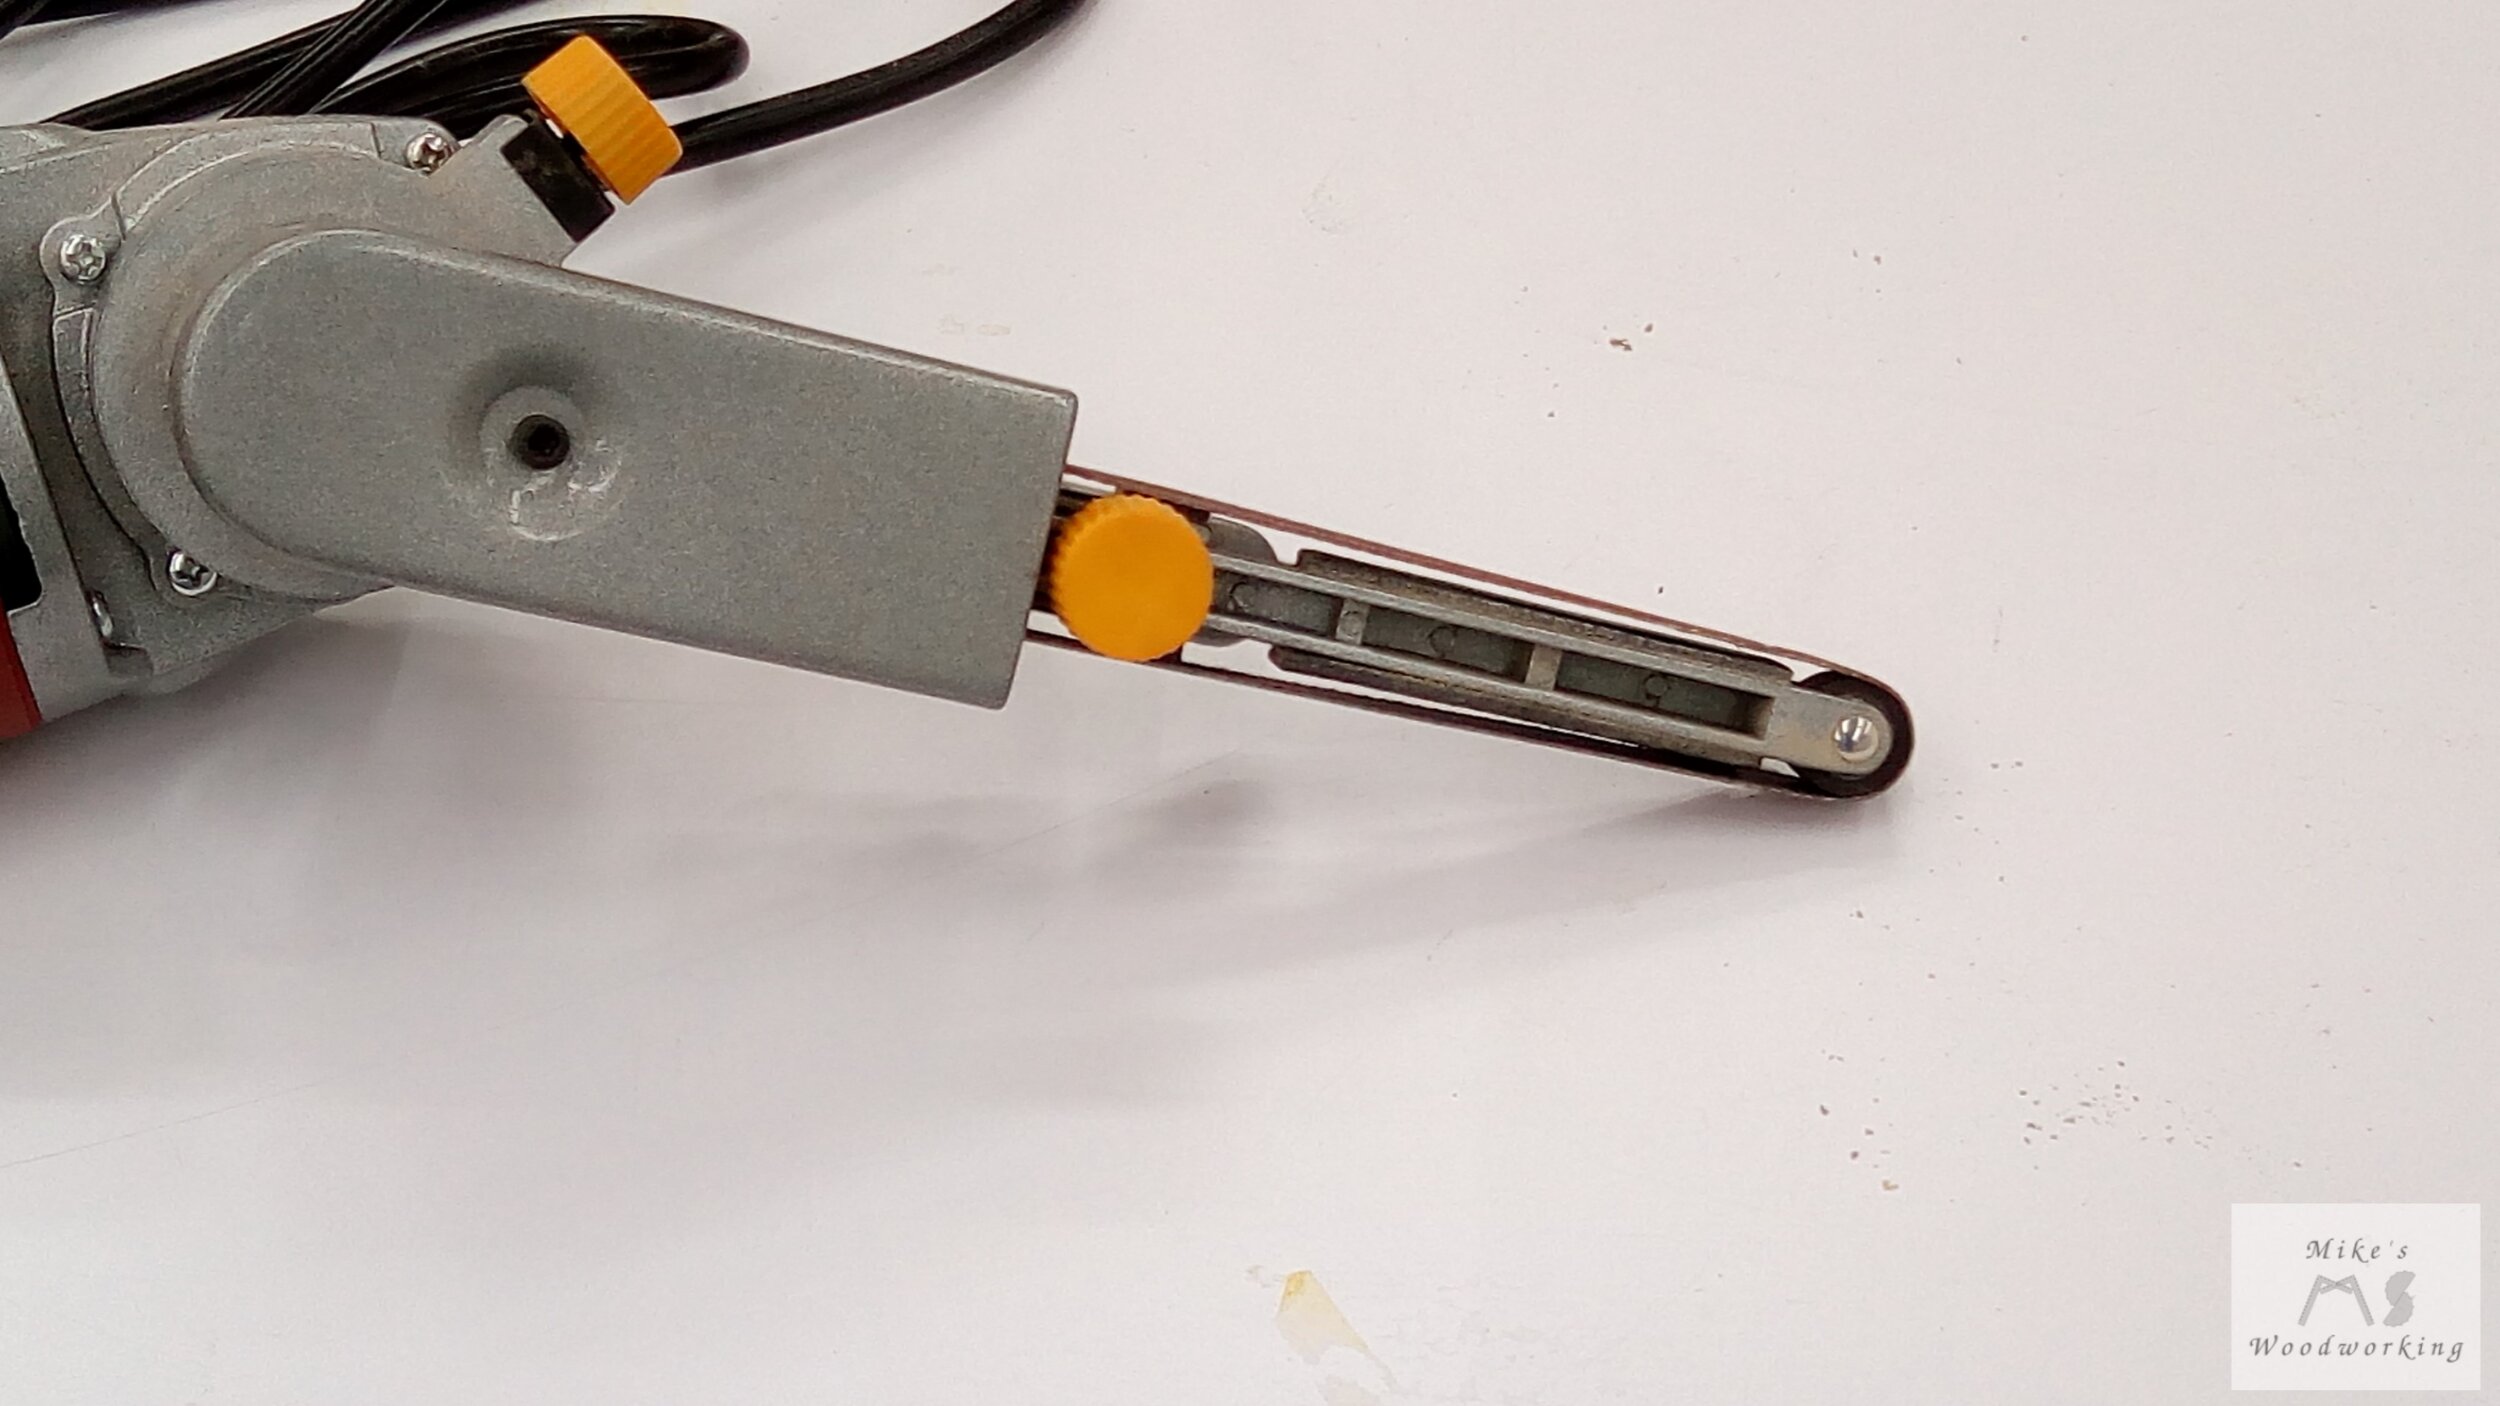
I went online to see if I could find some kind of a narrow handheld strip sander. I found a great one made by Makita, but it wasn’t available anywhere locally and it was over $240 (the price wasn’t the biggest issue, more the availability). I then saw that Harbor Freight had one and it was only $40. It came with an 80 grit belt already on it, but they sold a pack of varying grit belts so I figured I’d pick up a couple sets of those as well. I know what you’re thinking...a power tool from Harbor Freight? Well, I look at it this way...it’s a tool that fits my immediate needs and at its price, what have I got to lose? I ran out to get the sander and the extra belts and got back just in time for lunch.
After a quick bite to eat, I opened the box and checked out the manual for the sander. I changed out the belt (easy enough with just one small lever) and I found the tracking knob to get the belt centered on the wheel. I turned the sander on and I found that turning the knob did nothing for the tracking (it actually threw the belt off the wheel).


I looked at the setup more closely, and compared what I was seeing on the tool to what it looked like on the box and in the manual. The reason the belt wasn’t tracking properly was made quite obvious...the screw for the tracking adjustment was on the wrong side of the tool!!! I switched it to the correct side, turned on the sander again and, low and behold, I was able to track the belt with no problems at all. Gotta love the QC for stuff sold at Harbor Freight.
As I said, I changed out the 80 grit belt for a 120 grit one. Given that this sander was basically just a re-purposed angle grinder and only had one speed, I figured that 80 grit would remove way too much material too quickly. I tested the 120 grit on a piece of scrap plywood and it seemed to do the job well enough. I used the belt sander to remove the bulk of the material on all of the pieces and then fine-tuned all of the openings with hand sanding, just as before. I was still doing a bit of hand sanding, but it was no where near what I was doing previously. The belt sander was definitely the way to go here.
‘O’ So Close
It was pretty much a rinse and repeat for the remaining puzzles after the second one was completed. However, instead of doing one puzzle at a time at each tool, I decided to just do all of the drilling, band saw work and jigsaw work at the same time. I was careful to keep each set of pieces together at all times to avoid mixing things up. I was too far along at this point to start over. I finished sanding all of the openings on all of the pieces and gave them all a test fit. Because I still had the templates glued in place, and a bit of spray glue on some of the pieces, I knew that any binding was due to this and would be fixed with removal of the templates and final sanding. Everything still went together pretty well and all that was left was to cut the pieces to size.
When I went to cut the remaining puzzle pieces to size, I noticed a small problem. Because most of my puzzle pieces were slightly larger than the templates, I needed to remove more material to make things fit. I noticed that some of the openings weren’t located at the measurements located on the downloaded templates. The discrepancy was only about 1/8” or so on some of the pieces, but that wasn’t going to affect the overall working of the puzzles. There wasn’t anything I could do at this point, so I just left things as they were and cut everything to overall length. The pieces still fit together just fine and most, if any, people aren’t going to notice the holes in the ‘O’ pieces might be slightly off-center.
Now that everything was cut to size, I could FINALLY remove all of the template. I got out my heat gun and this made quick work of that task. There was still a bit of glue on some of the faces, so I left the pieces to cool down and the glue to harden again overnight. The next day, I went over to my oscillating belt sander, with a 120 grit belt, and sanded all of the face to remove all of the dried glue. This worked like a champ, but I still wasn’t done quite yet. I still had to do all of the final sanding.
Wipe on...Wipe off
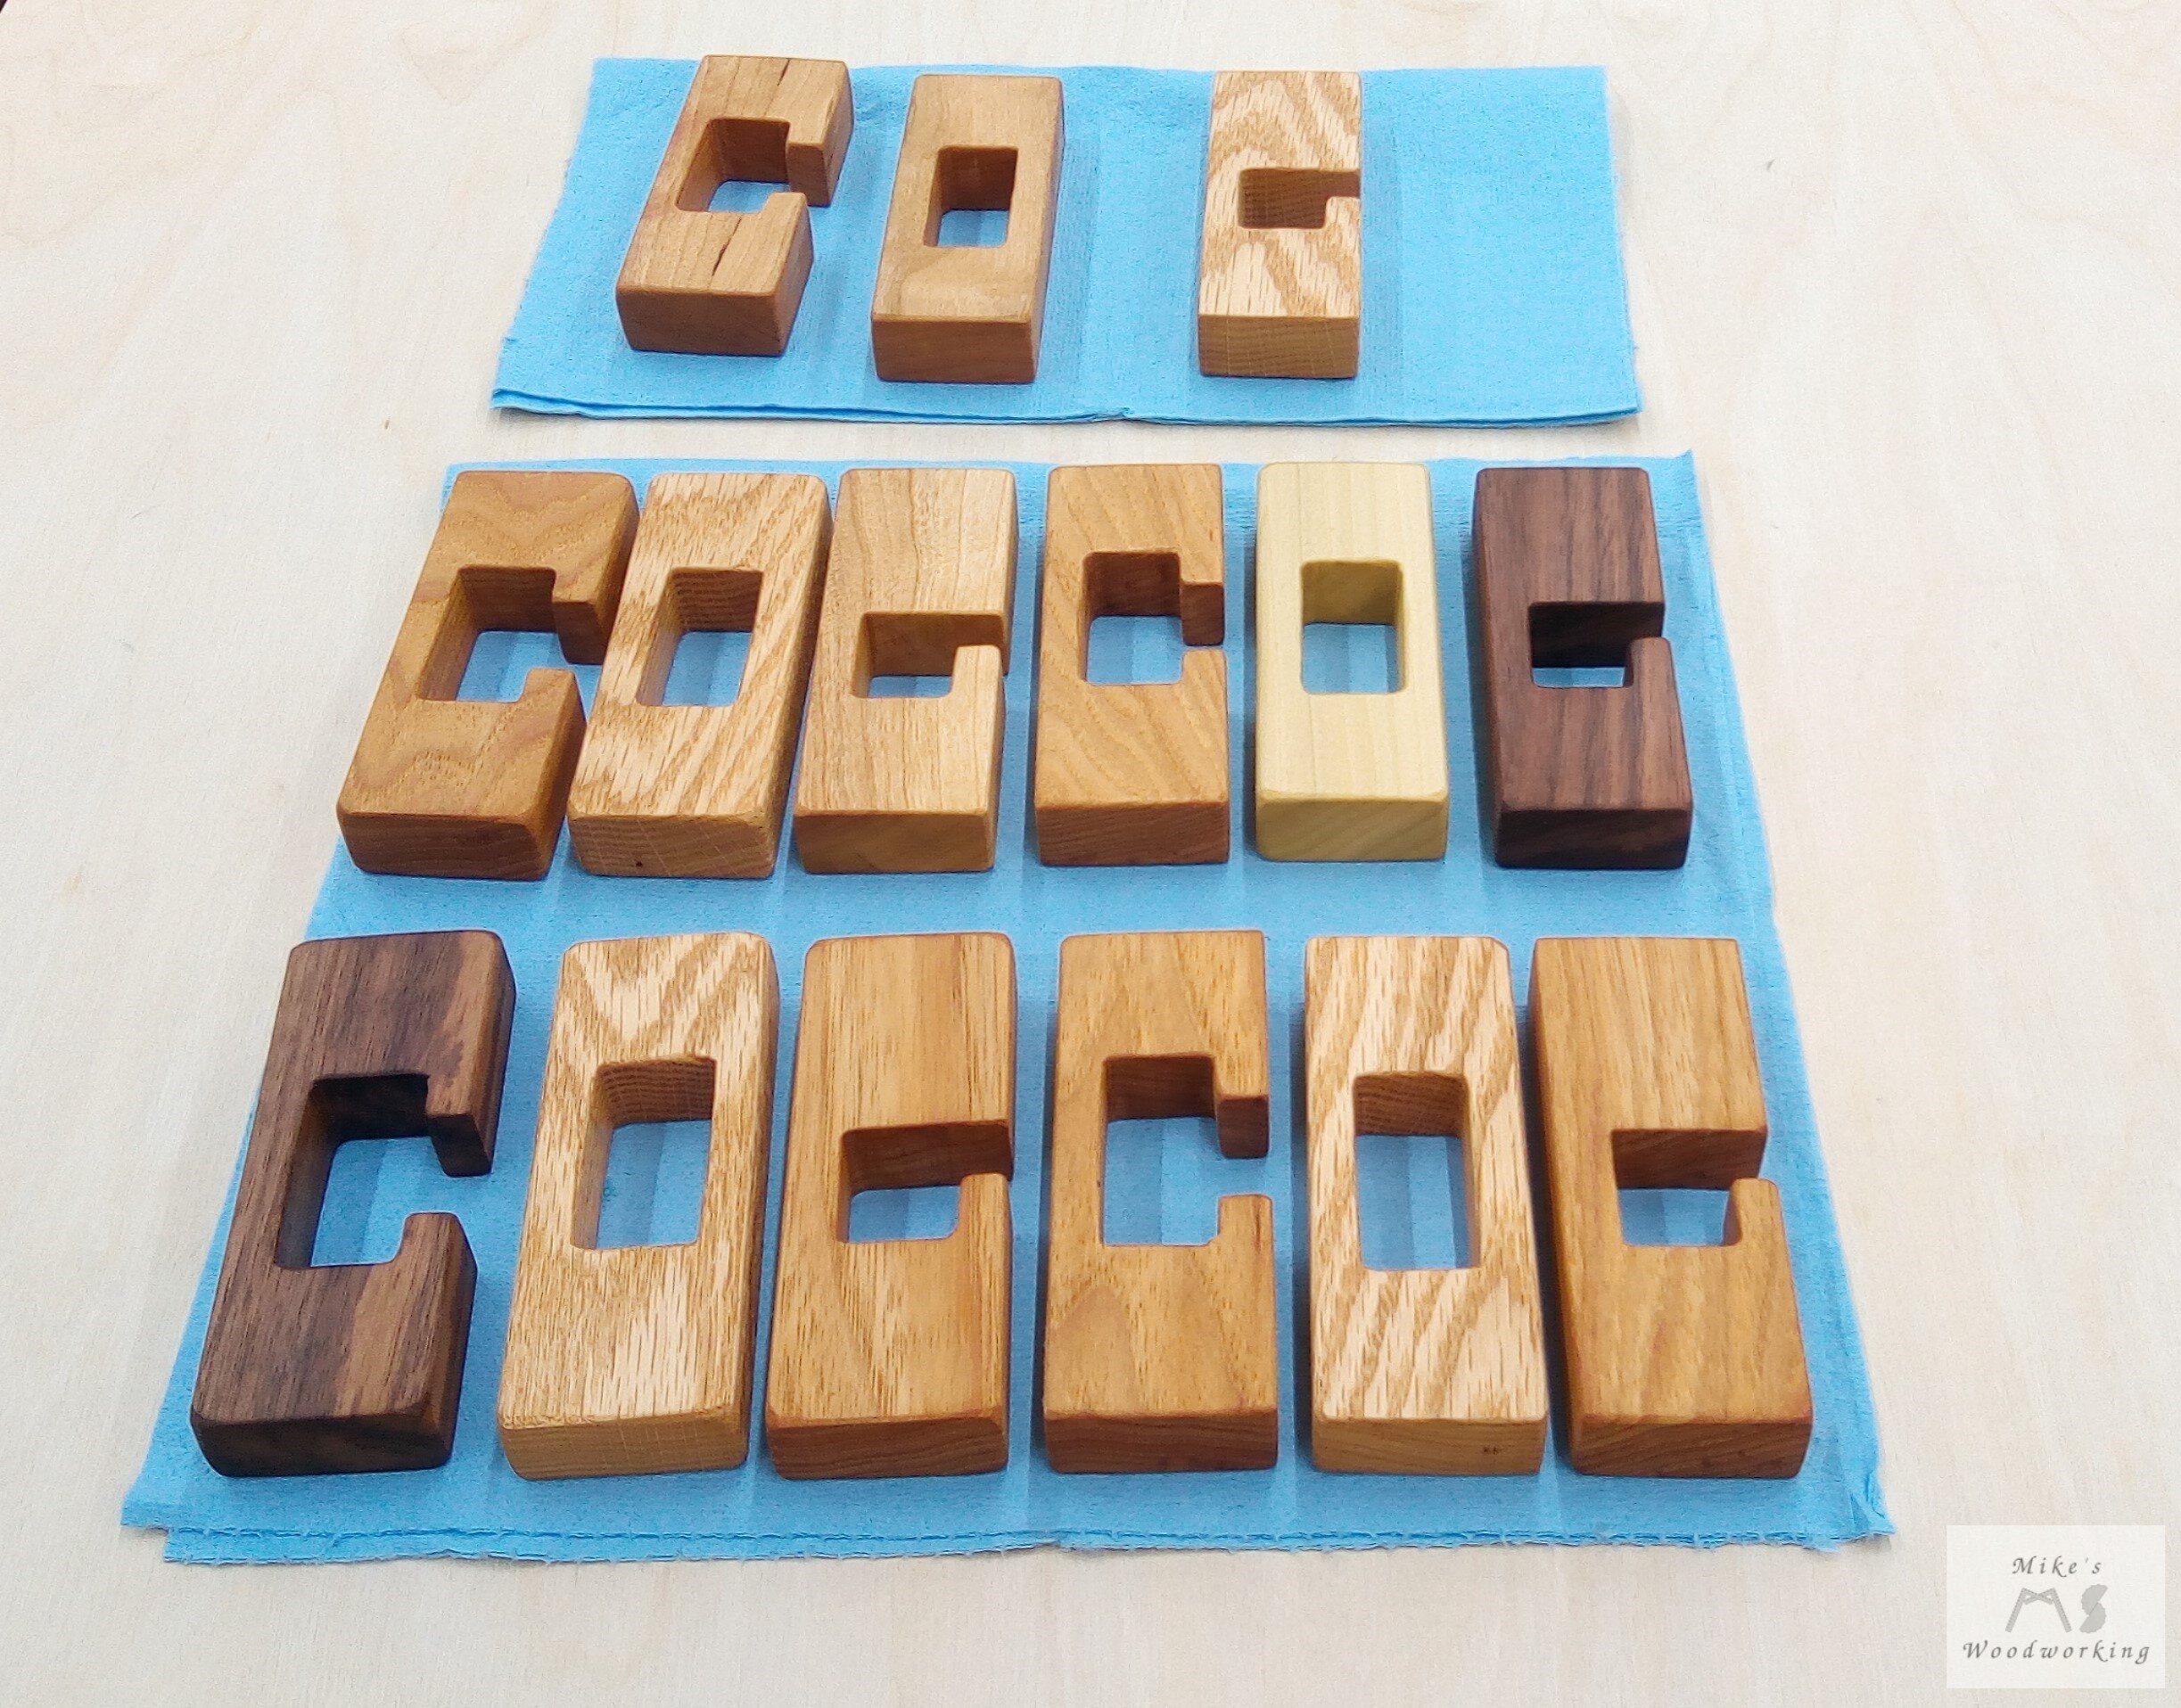
Because four of the five puzzles would be gifts for children, I had to knock off ALL of the sharp edges and corners on everything. The ‘O’ pieces were simple enough with only the four edges in the center of each face. The ‘C’ and ‘G’ were a bit more labor intensive. There were so many little edges and points that needed to be rounded over. Since I cut off the round edges I made when fitting things together, I needed to ease all of the outside edges again as well. I glued a piece of 120 grit sandpaper to a scrap of plywood and this made quick work of sanding the long edges and the sides and ends of all the pieces. Here are the five completed puzzles.

Starting from top/left is cherry/cherry/white oak and hickory/walnut/white oak. The center is cherry/hickory/white oak. Finally the bottom is hickory/poplar/walnut and hickory/hickory/white oak. As you might be able to tell, I changed two of the puzzles around before cutting things. Before, there were three that were cherry/hickory/white oak. I didn’t like having that many of the same thing so I swapped one piece each of cherry and hickory to end up with one cherry/cherry/white oak and one hickory/hickory/white oak. I really like the end results with those simple changes.
Now that everything is sanded, it was time to figure out how I wanted to finish them. I started with the prototype puzzle, and I used spray lacquer on it. I’m still not very good with spray finishes, so I think I caked on the lacquer a bit too thick in some places. After everything dried I was having a hard time moving the pieces around. That finish was definitely a big NO GO.
I wanted to try another type of finish, so I went to Lowe’s and decided to get a pint of Miniwax Wipe-On Poly and a quart of boiled linseed oil (BLO). I’ve read from many sources that wipe-on finishes, especially oil finishes, are nearly foolproof. Since I’m not the expert at finishing at this point in my woodworking journey, this might be the best option for me.
I grabbed some scrap pieces of all the wood species for the puzzles and started with the wipe-on poly. Using a blue shop towel, I wiped on a thin coat and let it sit for a couple of hours. While waiting for the poly to dry, I did the same thing with more scrap pieces for the BLO. This time, I wiped on the oil pretty heavy to let it really soak in, left it for 10 minutes or so, then wiped off the excess. I let the boiled linseed oil sit until the next day.
I came back to the poly and proceeded to sand it with some 220 grit sandpaper, as per the instructions on the can. After cleaning off any dust, I applied another thin coat of wipe-on poly. I let that sit until the next day so that I could make a comparison between the two.
The BLO seemed to give a bit darker finish, especially for the lighter woods like the white oak and poplar. Not to mention, the BLO yielded a straight matte finish, whereas the poly had a satin sheen, as that is what I opted for when I bought it. I think I preferred the BLO for these puzzle pieces. I asked Lisa for her input on the finishes, as well, and she agreed that the oil was a nice finish. The poly might be a bit better choice for a puzzle that kids are handling a lot, but I think the oil provides enough protection. Above all, the poly will leave that plastic feel instead of a natural feel left by the oil.
Take Two
I gave the BLO pieces another coat with the oil and left them to sit for quite a while to allow the oil to cure. I checked on them periodically and they were still giving off a strong odor from the oil. It’s not a nasty or caustic type of smell, just something that I’d rather not have on these children’s presents.
Here are the five puzzles with a couple of coats of BLO applied. I really like how dark the walnut looks.
While I was waiting for the BLO to cure on these five puzzles, I wanted to address the all hickory one that I sprayed with lacquer. That finish just came out so terrible that I decided to sand it all off and start over with the lacquer. Sanding that stuff off was a nasty job, and it gummed up the sanding belt on my belt sander. After a bit more hand sanding, everything was ready for another round of lacquer.
I made sure to do several light coats this time, and the results were so much better than before. It’s been a couple of months since I’ve completed the lacquer and those pieces slide so smoothly. They feel a bit rough to the touch, but to take care of that I need to buff the lacquer with some kraft paper, a little trick I learned from, who else, Steve Ramsey. I’ll probably do that down the road once the hickory COG puzzle is ready to permanently display.
Since these are slated as gifts for kids, I made sure to make up a card explaining the goal of the whole puzzle (the disassembly and reassembly aspect).