
File Cabinet
Now that the main piece of my new office, the Executive Desk, is finished, I can focus on the other pieces that surround it in the room. Given the amount of materials I have leftover from the desk build, the next choice is the File Cabinet.
My current file cabinet is a large, 4-drawer metal one I bought from Office Max back in 2006, right after we moved into our townhouse in Maryland. It’s served me well over the years, and it’s moved a number of times with a few dings, dents, and scratches to prove it. It’s just much too big now, and there’s a lot of stuff housed in it that we no longer need to keep. On top of that, with the overall theme of the office remodel, this hulking gray metal behemoth just won’t fit in anymore.


Going off of the design of the (original) Executive Desk, this is what I came up with.


As you can see, I went with the same inset door design as the desk. However, given the changes I had to make on-the-fly with the desk in regards to the inlay doors, I changed over to full-overlay to make things match.


As was the case with the desk, I think I like the full-overlay look better than the inlay. Alright, enough monkeying around with drawings, it’s time to actually build this thing.
Due to the dimensions of the remaining materials from the desk build, I was forced to alter the height of the file cabinet to compensate. While my plans were for a height of 29-1/4” for the sides, I opted for 28” to make do with the walnut plywood I had.
Well, actually, I must confess that I COULD have made everything according to my original specs had I chosen to change the direction of the grain for the sides of the file cabinet as compared to the desk. However, I did not want to have such a glaringly obvious oversight for my nice office furniture. I felt losing that inch or so of height wouldn’t change anything, and it didn’t. The only difference is the two drawers themselves will be slightly closer together inside the cabinet, but that is inconsequential to their function as file drawers.
The build for this small cabinet was pretty much a carbon copy of the two cabinets made for the desk, only this time I didn’t need a 3/4” back or a bunch of grommet holes drilled out. I had plenty of 1/4” maple plywood leftover so that took care of the back.
Actually, there was one thing I did a little differently in making the file cabinet versus the desk cabinets. I decided to make the drawers FIRST, instead of the cabinet. The two file drawers will have plastic rails slipped over the sides to allow the files to hang and move about freely.

Here you can see the plastic runners installed on the drawer sides.
I’ve had sizing problems with file drawers for my workshop in the past, and I don’t want to suffer the same pitfalls this time around. I had a measurement in mind for the width of the drawer fronts, so I cut the maple plywood to that length and then clamped the drawer together.
With the plastic rails in place, I tested some of my hanging files and they were a perfect fit. With the overall drawer width set, I commenced with cutting the cabinet bottom as well as the top and bottom stretchers. I did a dry fit with the cabinet clamped in place and everything fit like a glove.
I had one small problem when I was cutting the dadoes for the cabinet sides, and I can’t quite figure out how it happened.

For some reason, there was a small wave in one of the dadoes after I cut it. Again, I’m not sure how it happened as I was keeping everything tight against the rip fence the entire time. In the end, it didn’t cause a problem in fitting the cabinet bottom into place and it will never be seen.
Another small change I opted for with this small cabinet was to not use ANY glue at all. The stretchers utilize pocket holes into the sides, and the front bottom stretcher has two additional pocket screws going into the cabinet bottom to hold it in place. With the little amount of stress on this piece at any given time, glue didn’t really seem necessary. The top and drawer faces, due to their size, obviously were panel glue-ups.
Much like the desk, I decided to apply my Odie’s Oil finish to the pieces prior to adding the trim. This makes for a much easier go of things. I did, however, forego applying finish to the inside of the cabinet and the file drawers. The inside of this cabinet is NEVER going to be seen, and the same goes for the drawers.
One final alteration from the desk was my choice of attachment methods for the top to the cabinet. I used the Izzy Swan skirt washers for the desk, but this time I went with a couple of elongated holes in the top stretchers with one 1-1/2” cabinet screw in each hole to hold the top in position. This still allows for wood movement and is more than enough to hold the top in place. I just have to be careful that I don’t put too much pressure pulling upwards on the top as the screws could rip out. Again, I don’t plan on moving this once it’s in place.
With all that being said, the completed file cabinet is in place and I’m quite happy with it.

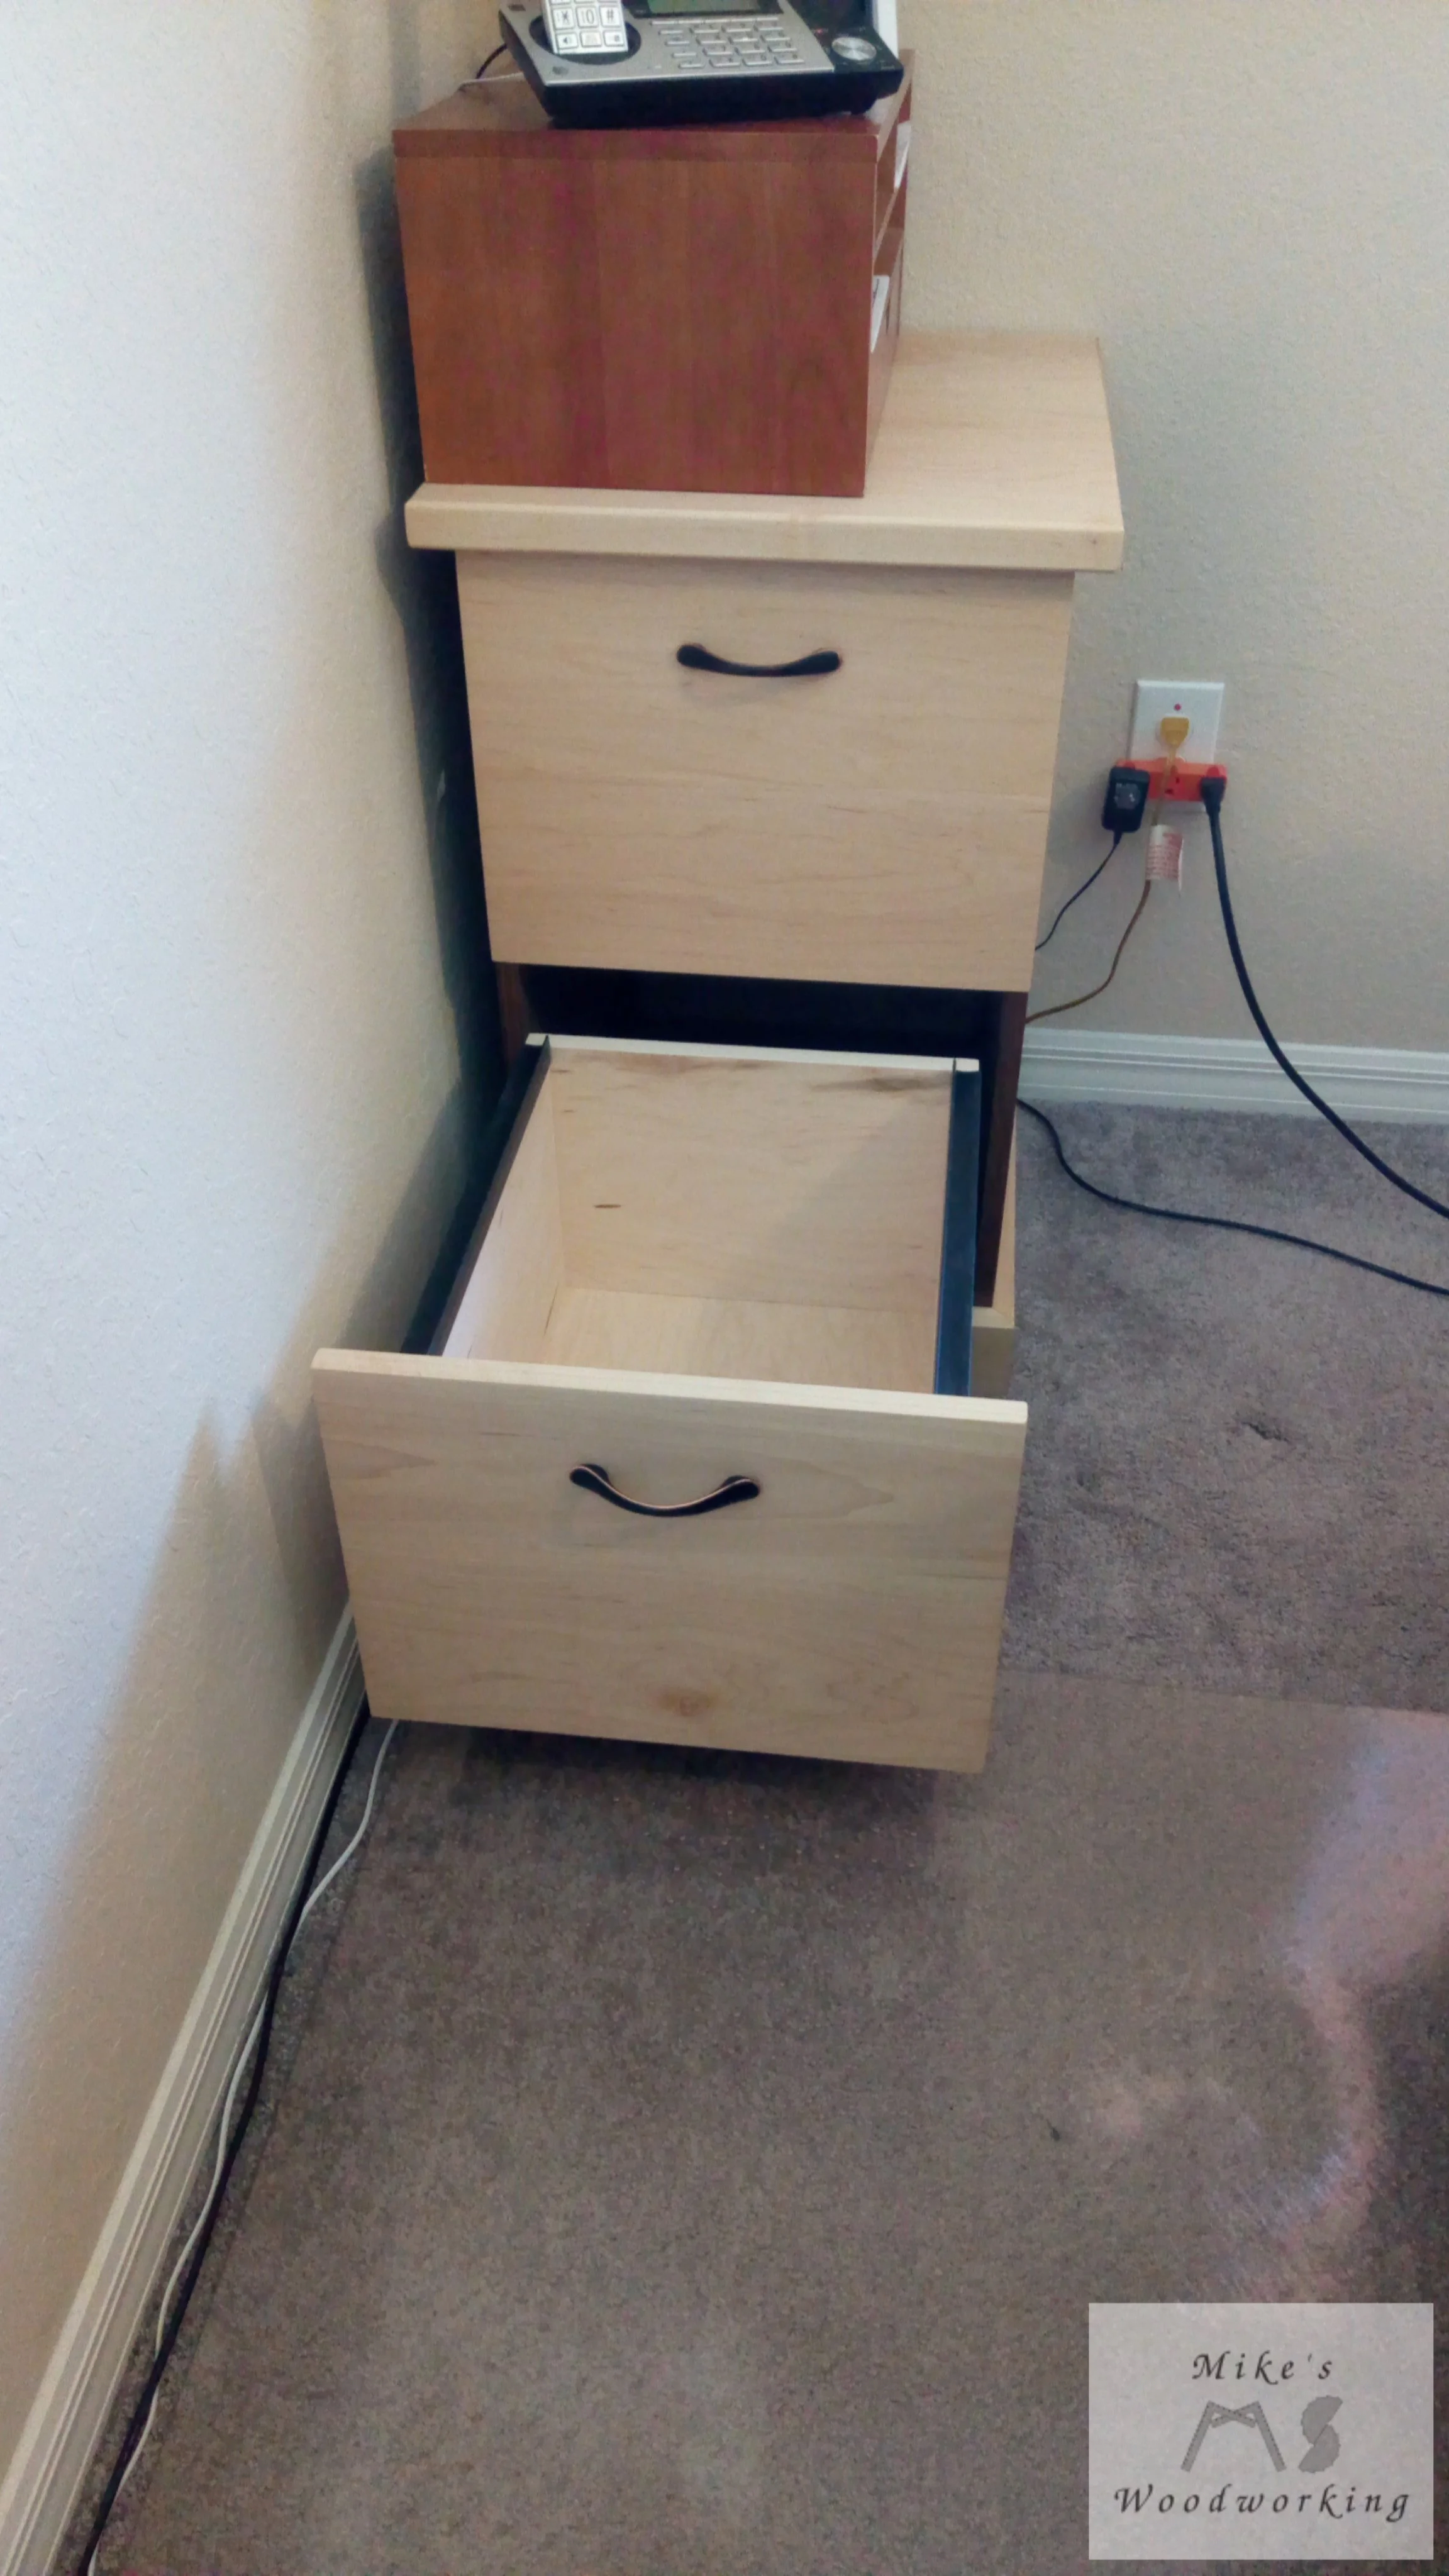

This build went WAY faster than the Executive Desk. It took me only a couple of weeks to complete the file cabinet, versus two months for the desk. Everything came out great, minus the dado incident, and the finished piece goes great with my new desk.
Next up for the office remodel will be either the small bookcase or the printer stand, although I’m leaning more toward the printer stand as I need that more than the bookcase. We’ll see, I guess.